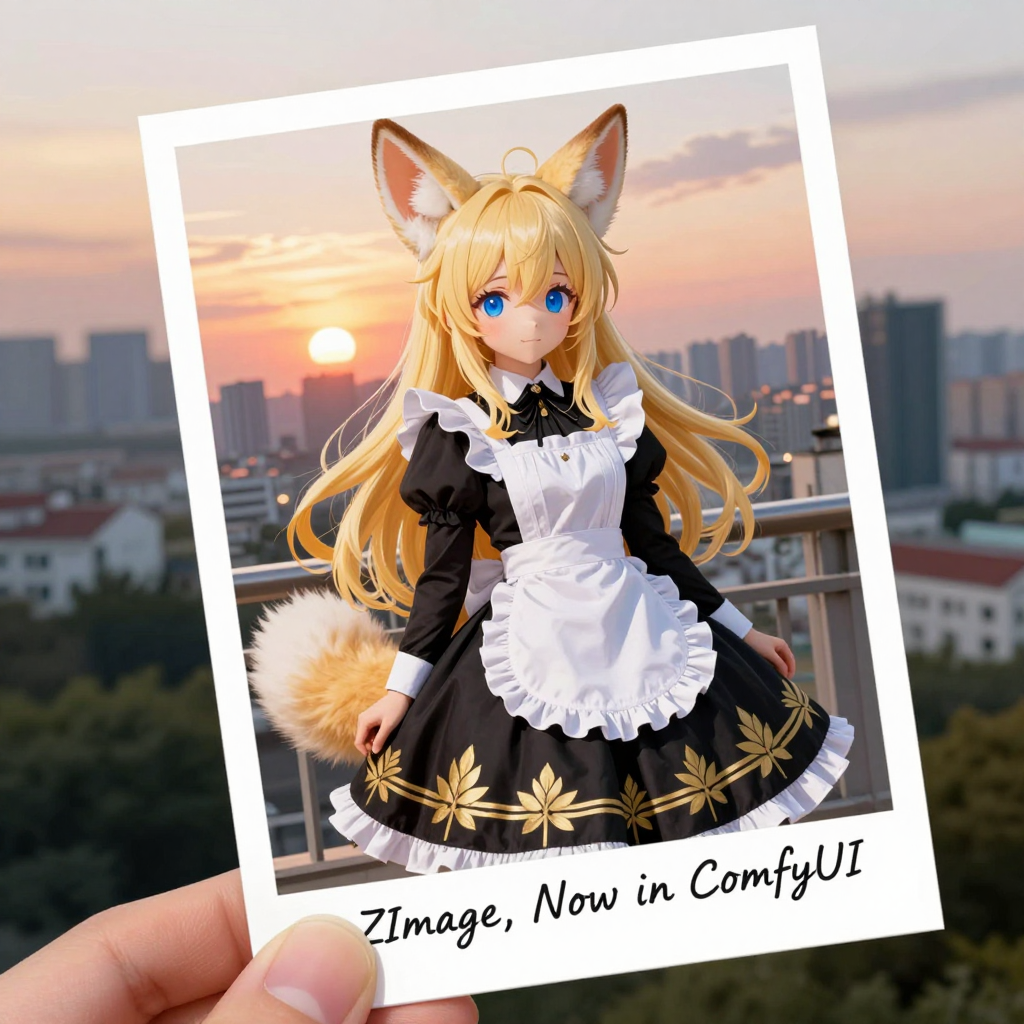
It looks like the Flux 2 models got taken down within a day after the release, and now the new Z-Image model is the real deal. It is smaller, faster, and better in so many ways that even SDXL needs to step aside now. The image I am looking at can also be generated on a laptop with 8 gigabytes of V-RAM. And even a 6-gigabyte card should be able to generate images using the FP8 and GGUF models.
In this article, I will walk through everything I explored — the workflow, the files needed, how each model behaves, how the results appear, and how a low V-RAM user can still work with Z-Image-Turbo. I will also share what happened during my tests, the errors I faced, how I fixed them, and how both models compared to each other.
What Is Z-Image-Turbo?
Z-Image-Turbo is a newly released open source image generator model that works on both powerful GPUs and smaller low V-RAM systems. It focuses on producing high-quality images using different model formats, including:
- BF16 model
- FP8 model
- GGUF model (U-Net + text encoder)
Its key strength is that it allows even a 6 GB GPU to generate outputs, depending on which model file is used. The model containing the word “turbo” is meant to deliver fast results, and based on my experience, it does run quickly.
Z-Image-Turbo Model Overview
| Model Type | File Size | Suitable For | Notes |
|---|---|---|---|
| BF16 | ~12 GB | GPUs with higher memory | Produces strong results |
| FP8 | ~6 GB | 6 GB – 8 GB GPUs | Works well with small cards |
| GGUF U-Net | Varies (Q5, Q6, Q3) | Low V-RAM systems | Ideal for laptops and minimal setups |
| GGUF Text Encoder | Smaller file sizes | Works with FP8 + GGUF | Multiple versions available |
Key Features
1. Works on Low V-RAM Systems
The model can work even on 6-GB graphics cards through FP8 and GGUF versions.
2. Two Separate Workflows
There are two workflows in front of me right now:
- Workflow for higher memory (BF16)
- Workflow for smaller cards (FP8 + GGUF)
3. Fast Generation
The turbo file produces images faster than usual, based on my testing.
4. Multiple Model Variants
I worked with:
- BF16
- FP8
- GGUF U-Net
- GGUF text encoders
5. Good Prompt Adherence
Both BF16 and FP8 follow prompts well, with slight variations in quality.
6. Works with ComfyUI
The workflow runs inside ComfyUI with standard nodes.
7. Not Censored
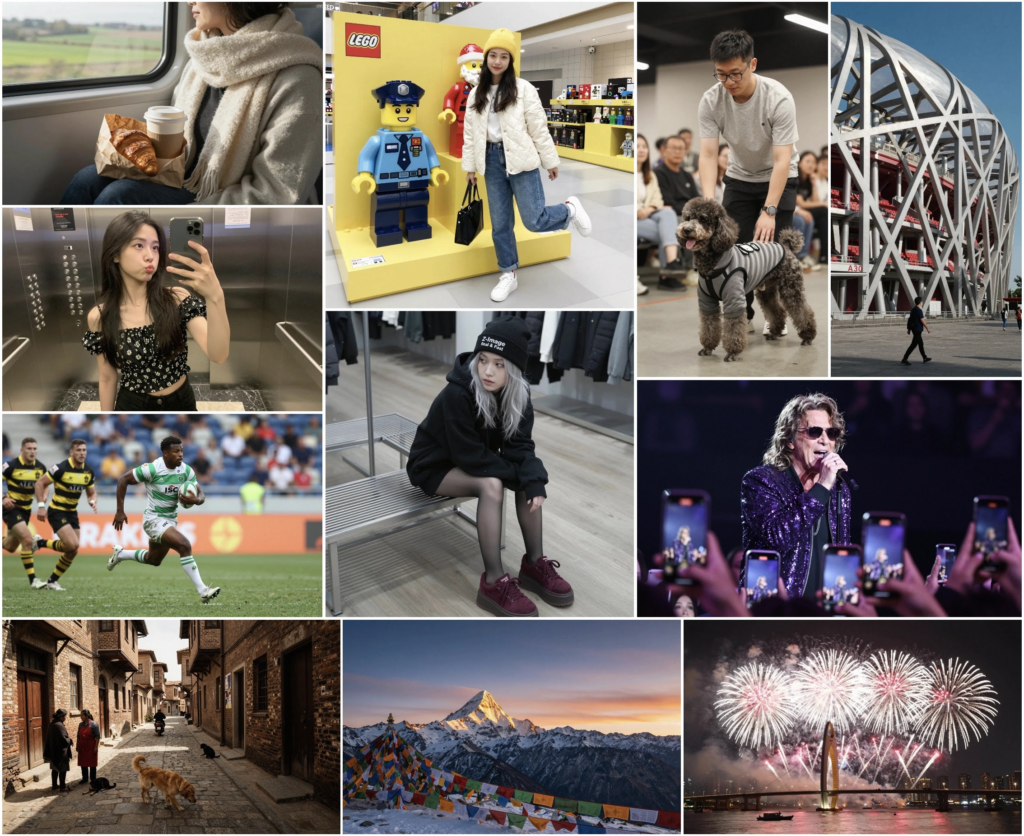
The answer to the question many ask, yes, this model is not censored, and it does generate celebrities very well.
Files Required
There are three files required to run the workflow, and they are present inside the folders I downloaded. I added the direct download links to the files when I was setting everything up.
Required Files
- Model file (BF16 or FP8 or GGUF)
- Text encoder file
- VAE file
File Sizes
- BF16 model: 12 GB
- FP8 model: 6 GB
- GGUF models: Smaller, depending on Q3, Q5, Q6
Notes Mentioned During Setup
- The GGUF model was not released at the time I started recording.
- The FP8 model link was available.
- I was expecting GGUF to be released in a few hours.
- Later, the GGUF model became available and I updated the section.
Setting Up the BF16 Workflow
Step 1: Download the Text Encoder
I downloaded the text encoder and saved it inside the text encoder folder.
Step 2: Download the VAE File
Then I downloaded the VAE file and placed it inside the VAE folder. I saved it inside a new folder.
Step 3: Refresh ComfyUI
I pressed the letter R to refresh the file list in these nodes.
Step 4: Select the Model Components
I selected:
- BF16 model
- Text encoder
- VAE
Step 5: Adjust Resolution
The image resolution can be adjusted from the empty latent node.
Step 6: Run the Workflow
The button to run the workflow is behind this option.
I pressed Control + Enter to run it.
Output Time
- System usage was low
- GPU usage looked normal
- Result came in 33 seconds
Everything worked and the result looked fine.
Setting Up the Low V-RAM Workflow (FP8 + GGUF)
This is the setup for users with 6 GB – 8 GB GPUs.
The smaller FP8 model has a file size of around 6 GB.
Step 1: Choose the Right FP8 File
There are two files:
- E4 file → For 4000 series and newer cards
- E5 file → For all other cards
I suggest testing both and choosing the one that produces better results. Save the chosen file inside the diffusion model folder.
Step 2: Download GGUF Text Encoder
This GGUF text encoder is smaller than the 8-GB file below.
There are multiple files. I downloaded:
- Q6
- UD Q6
Both were placed in the text encoder folder.
Step 3: Refresh and Select Files
I pressed R again.
Then I selected:
- FP8 file
- Q6 encoder
- VAE
Step 4: Sage Attention Node
I was not sure if this sage attention node would work, because I was using it for the first time.
It can be bypassed or deleted if it gives an error.
Step 5: Running the Workflow
When I ran it, I got an error:
The node does not know about the Qwen3 architecture.
I tried the other UD Q6 encoder and got the same error again.
The issue was with the GGUF node.
Fixing the Error
I updated both of these nodes one by one.
After restarting ComfyUI, the workflow worked.
Output Time
Result generated within 20 seconds.
Prompt Testing and Performance
I was looking for a prompt guide on the official website, but I did not find anything. I found a few prompts, and with the help of GPT, I tested the model.
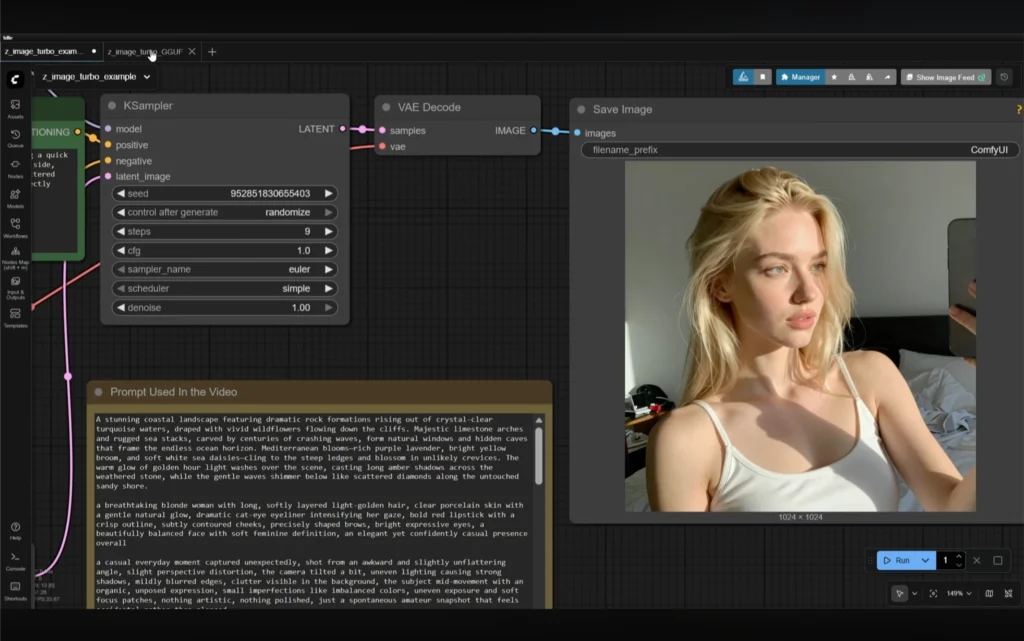
The prompt was followed perfectly. The moment captured had soft, blurred edges, awkward angles, unbalanced colors, bad exposure, and no photogenic pose — exactly like an amateur snapshot. That’s what made it feel natural and unplanned.
The subject generated by the BF16 model was comparable to the one produced by the FP8 model. A difference in quality was visible, but the similarity mattered, especially for users generating images on laptops with 6-GB cards.
I noticed correct shadows and correct positioning of the subject’s other hand.
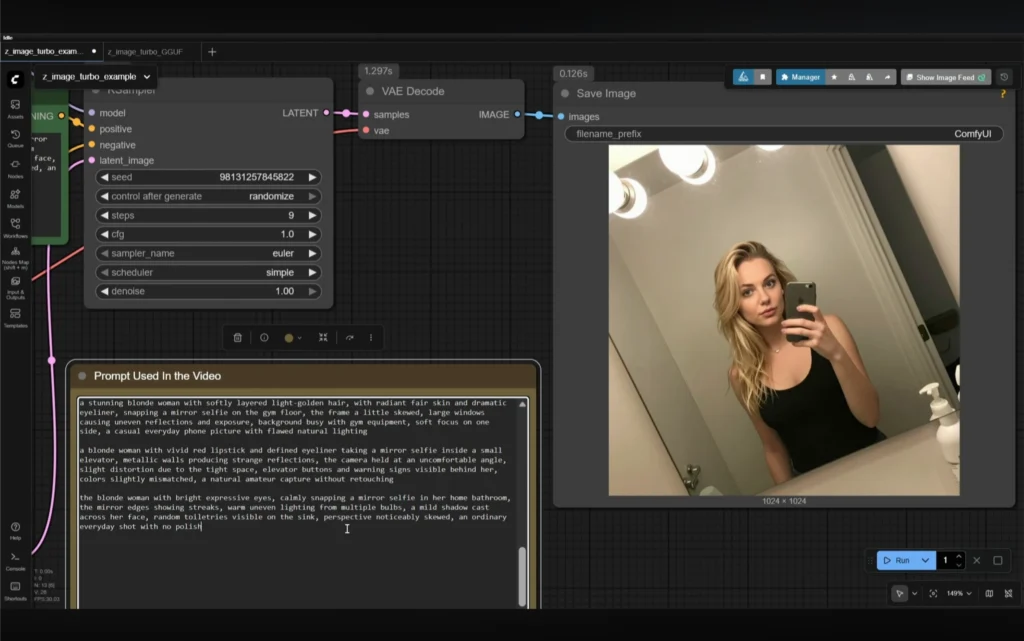
FP8 Mirror Selfie Test
The same prompt was used on the FP8 model. The model produced:
- A blonde woman
- Quick mirror selfie
- Bright restroom lighting
- Golden layered hair
- Bold eyeliner
- Red lipstick
- Smudged mirror
- Uneven lighting
- Towels and bottles in background
- Raw, unplanned feel
The subject looked identical to the BF16 output.
Time taken: 30 seconds.
Across multiple image generations, FP8 often produced subjects similar to BF16. Prompt adherence was present in both, with quality variations.
GGUF Model Testing
Later, the GGUF models were uploaded. There were:
- Q5
- Q6
- Q3
I downloaded several GGUF models.
Step-by-Step Selection
- Press R to refresh model list
- Place GGUF model inside U-Net folder
- Select the file
- Test with a prompt
Q5 Model Result
Image generated in 30 seconds.
Looked good but had small defects — for example, the wire fading away or the mic missing a part.
FP8 Comparison
FP8 produced the same prompt in 18 seconds.
Mic still incorrect, but acceptable and improved.
Q3 Model Result
Generated in 30 seconds.
Worked fine but I did not expect perfection from this smaller model.
Adjusting Settings for Smaller Models
If using the smaller model:
- Try adjusting iteration steps
- Try adjusting CFG scale
I tested this.
It took around 110 seconds, and the result had extremely vibrant colors.
The incorrect objects might get fixed with these settings.
This reminded me of what I used to do with SD1.5 models on a 4-GB card.
Is the Model Censored?
The answer is yes — this model is not censored.
It does generate celebrities very well.
How to Use Z-Image-Turbo (Step-by-Step)
1. Download Required Files
- Model (BF16 / FP8 / GGUF)
- Text encoder
- VAE
2. Place Files Correctly
- Model → Diffusion model folder
- Text Encoder → Text encoder folder
- VAE → VAE folder
- GGUF U-Net → U-Net folder
3. Refresh ComfyUI
Press R every time you place new files.
4. Select Files Inside Nodes
- Model
- Encoder
- VAE
5. Adjust Image Resolution
Modify this in the empty latent node.
6. Run the Workflow
Press Control + Enter.
7. Fix Errors
Errors like Qwen3 architecture usually require updating nodes.
8. Test Prompts
Prompt adherence is strong on all models.
Frequently Asked Questions
1. Can Z-Image-Turbo run on a 6-GB GPU?
Yes. The FP8 and GGUF versions work with 6-GB cards.
2. Which model is recommended for low V-RAM?
The recommended model is the FP8 6-GB model.
3. Are GGUF models available?
Yes, GGUF models were released shortly after the initial download.
4. Why did I get the Qwen3 architecture error?
This happens due to outdated GGUF nodes. Updating the nodes fixes it.
5. Is the model censored?
No. It is not censored.
6. Does FP8 produce results similar to BF16?
Yes. FP8 results are often similar, with slight quality differences.
7. What if the image has defects?
Try:
- Increasing iteration steps
- Adjusting CFG
- Using a larger model