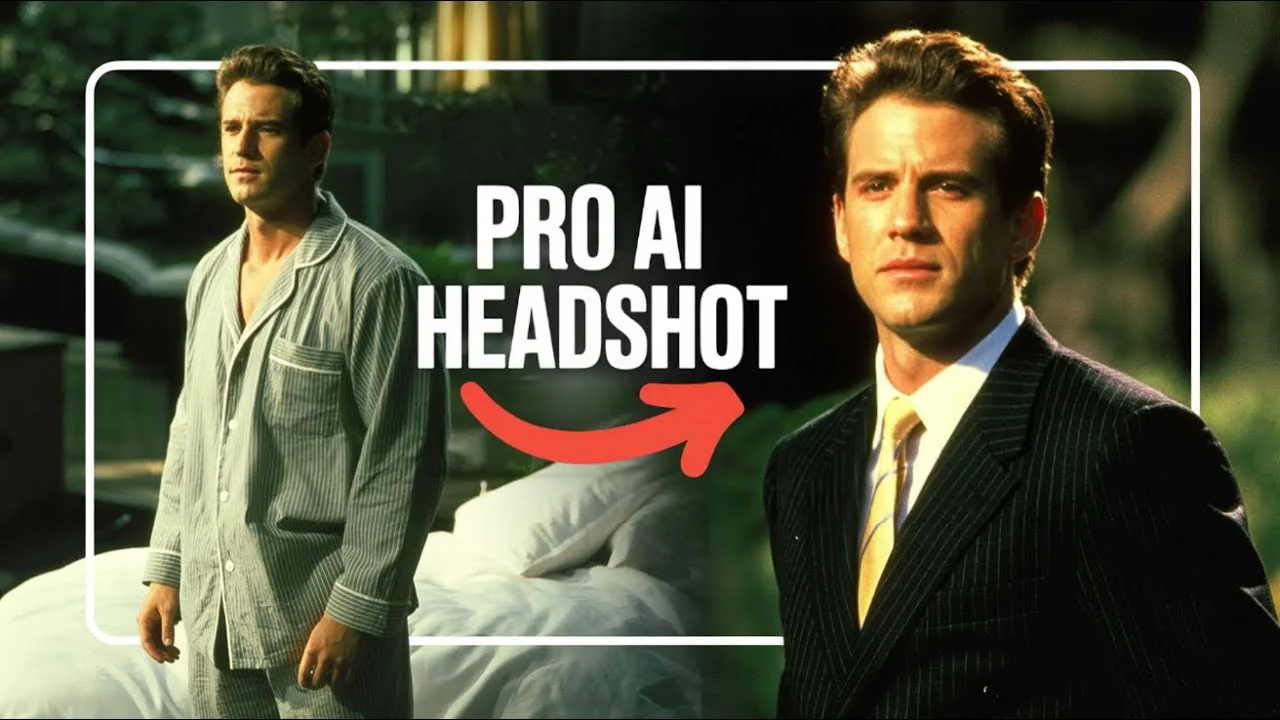
I’m going to show you how to create professional headshots in just a few seconds using Ideogram. We’ll check out the portrait template, then my master Ideogram headshot prompt, and simple tweaks to change clothing or aspect ratio.
Quick start with Ideogram AI Headshots
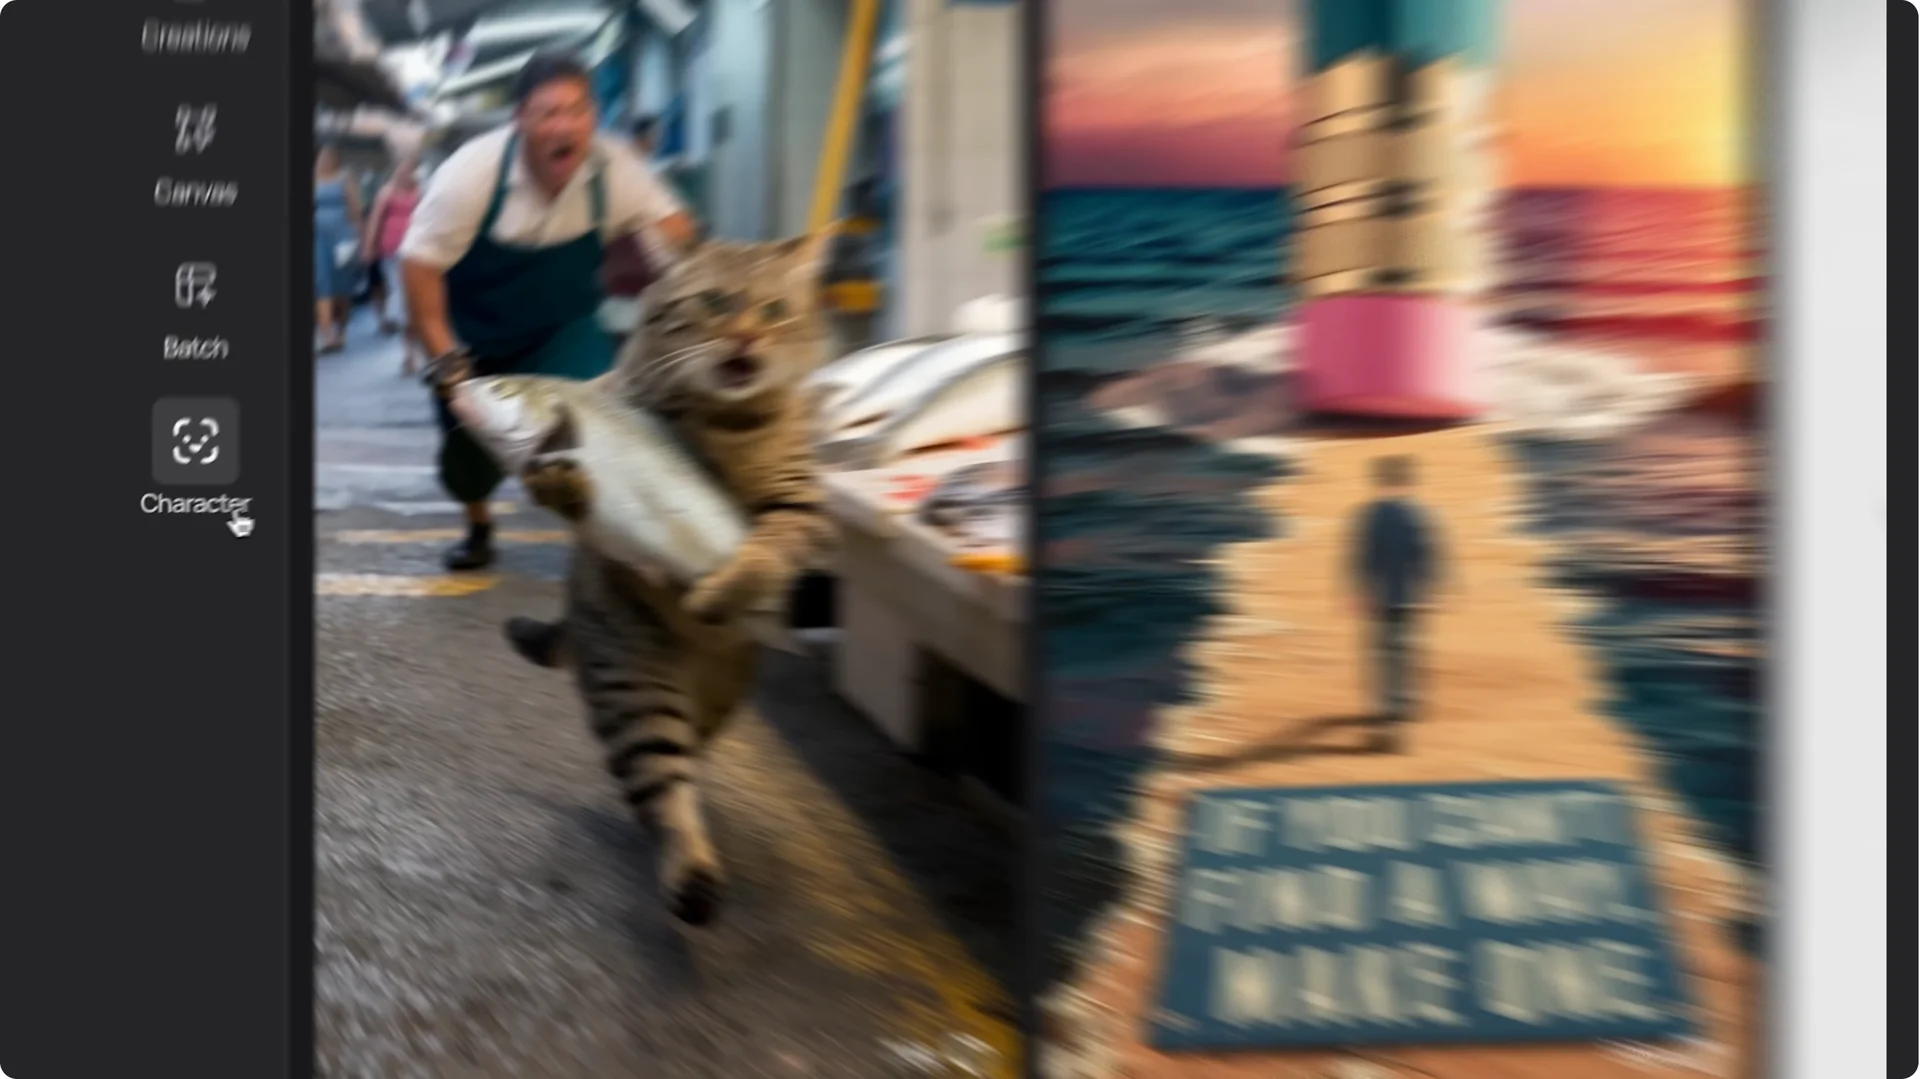
From the main page, head over to Character on the left sidebar. I’ll use Camera to open my camera window and take a photo.
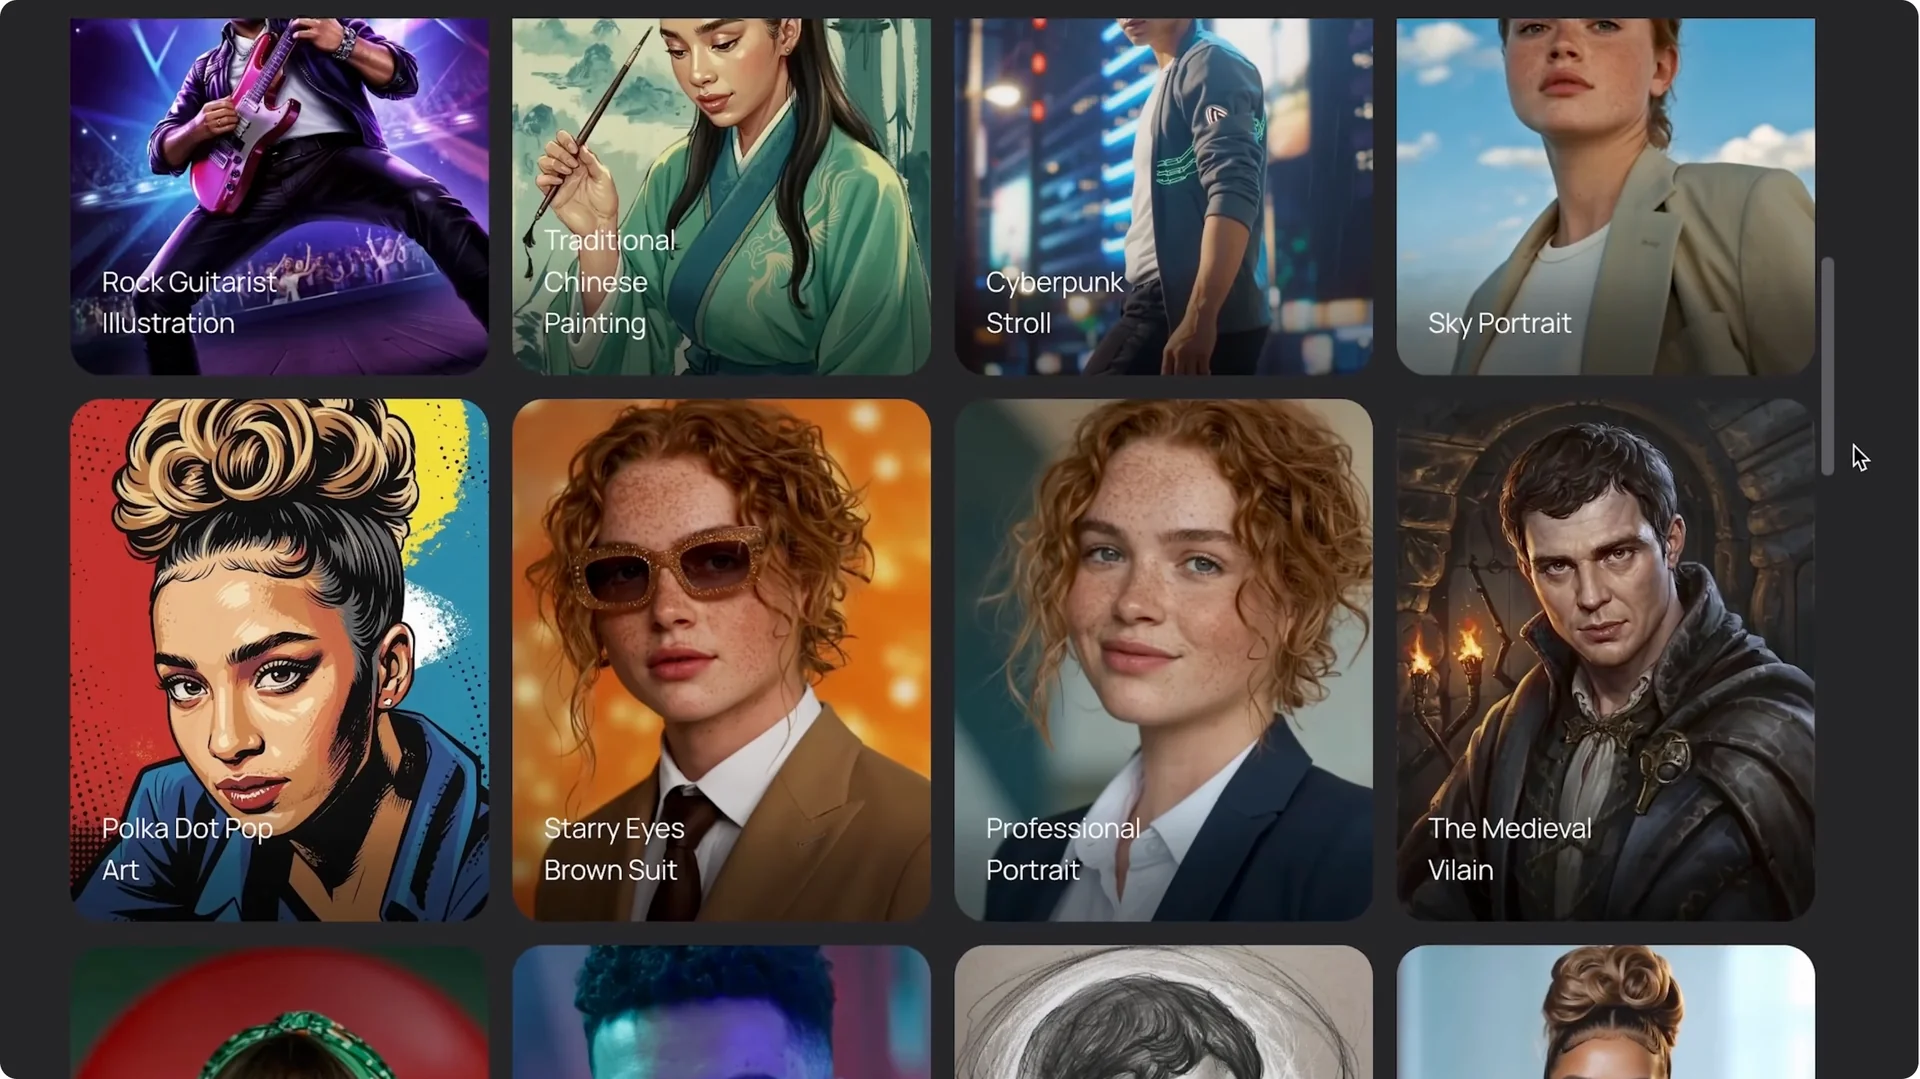
Now that I have my selfie uploaded, I’ll open Templates. If you scroll down, you’ll see one called Professional Portrait. Select it and hit Generate.
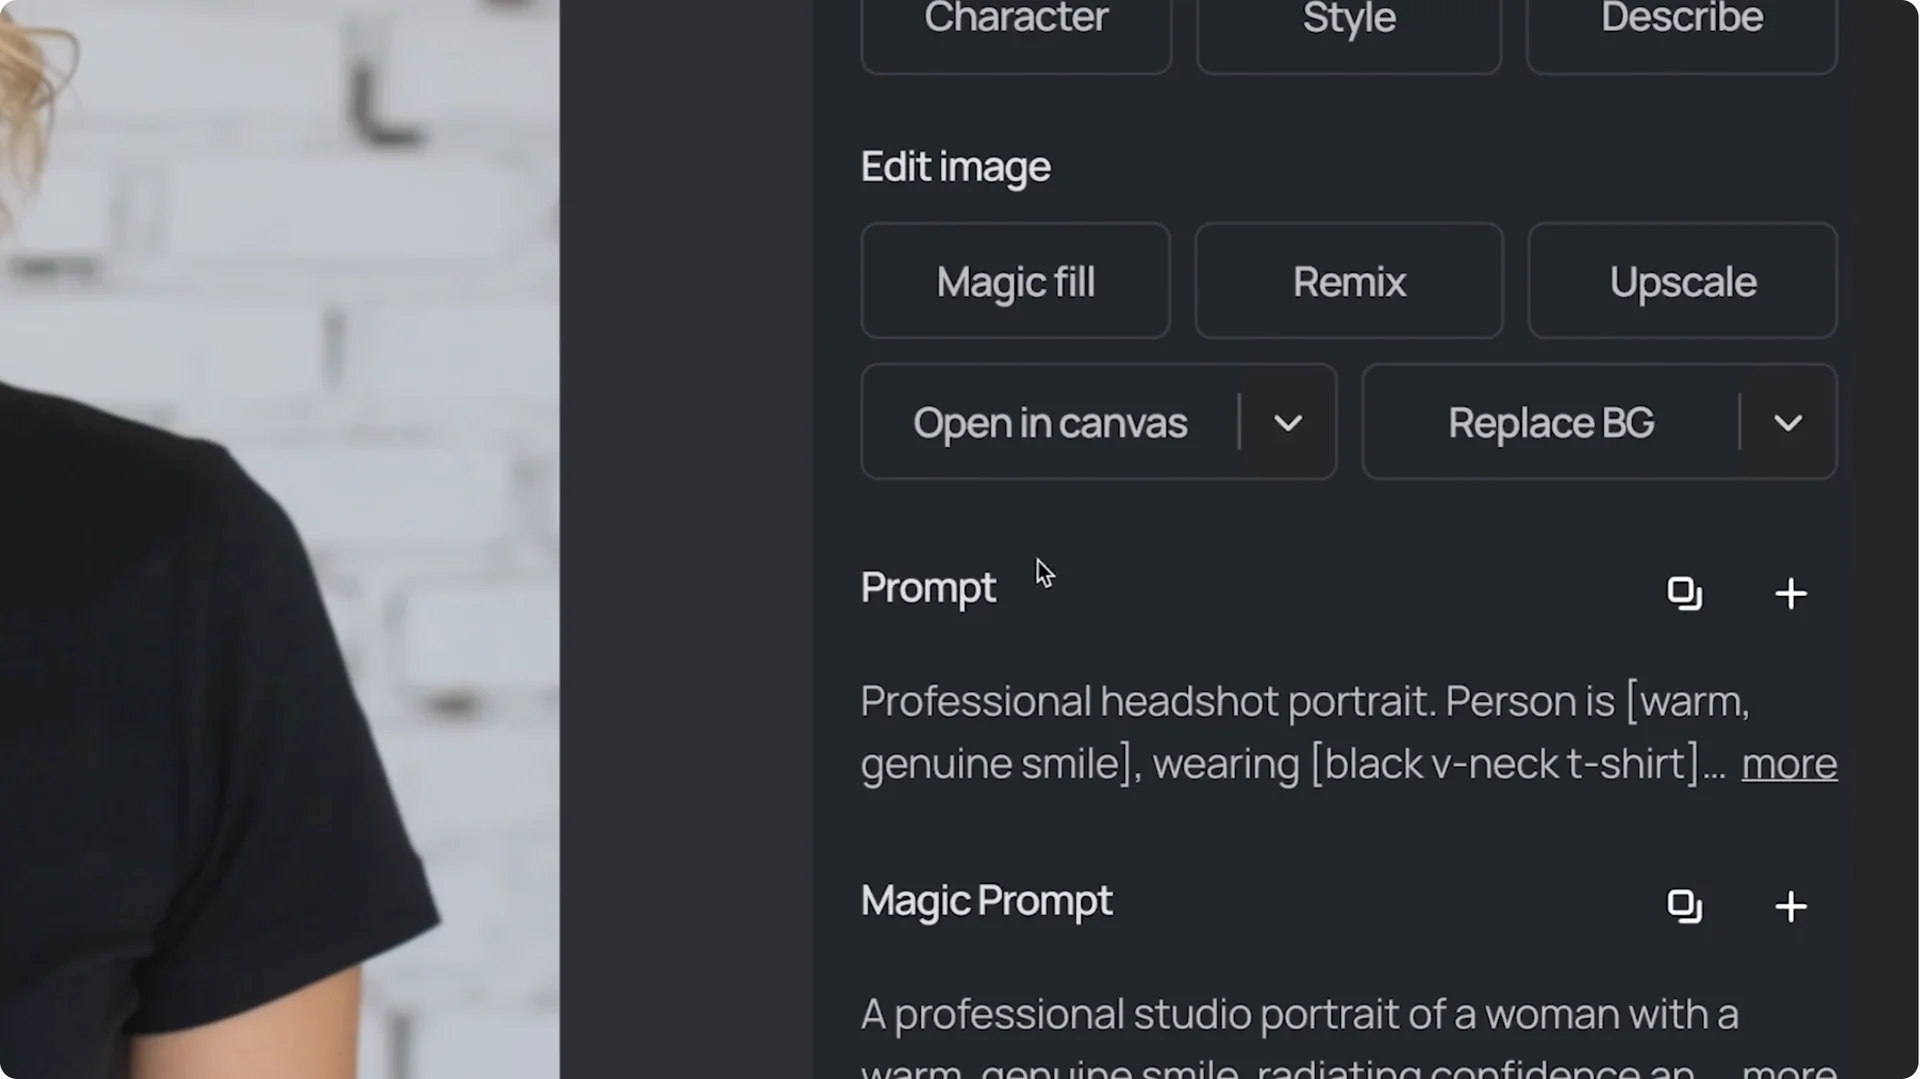
Just like that, we have a professional looking headshot. You can adjust this prompt if you like. I’ll use this image and click on the prompt box.
I’m going to change my outfit to a tan suit with a tropical shirt. Hit Generate. Sometimes I travel for business and leisure, so this is quite fitting.
That template looks good, but it may not be your vibe for a headshot. Next I’ll show you my master prompt and how to create multiple styles from it.
Master prompt for Ideogram AI Headshots
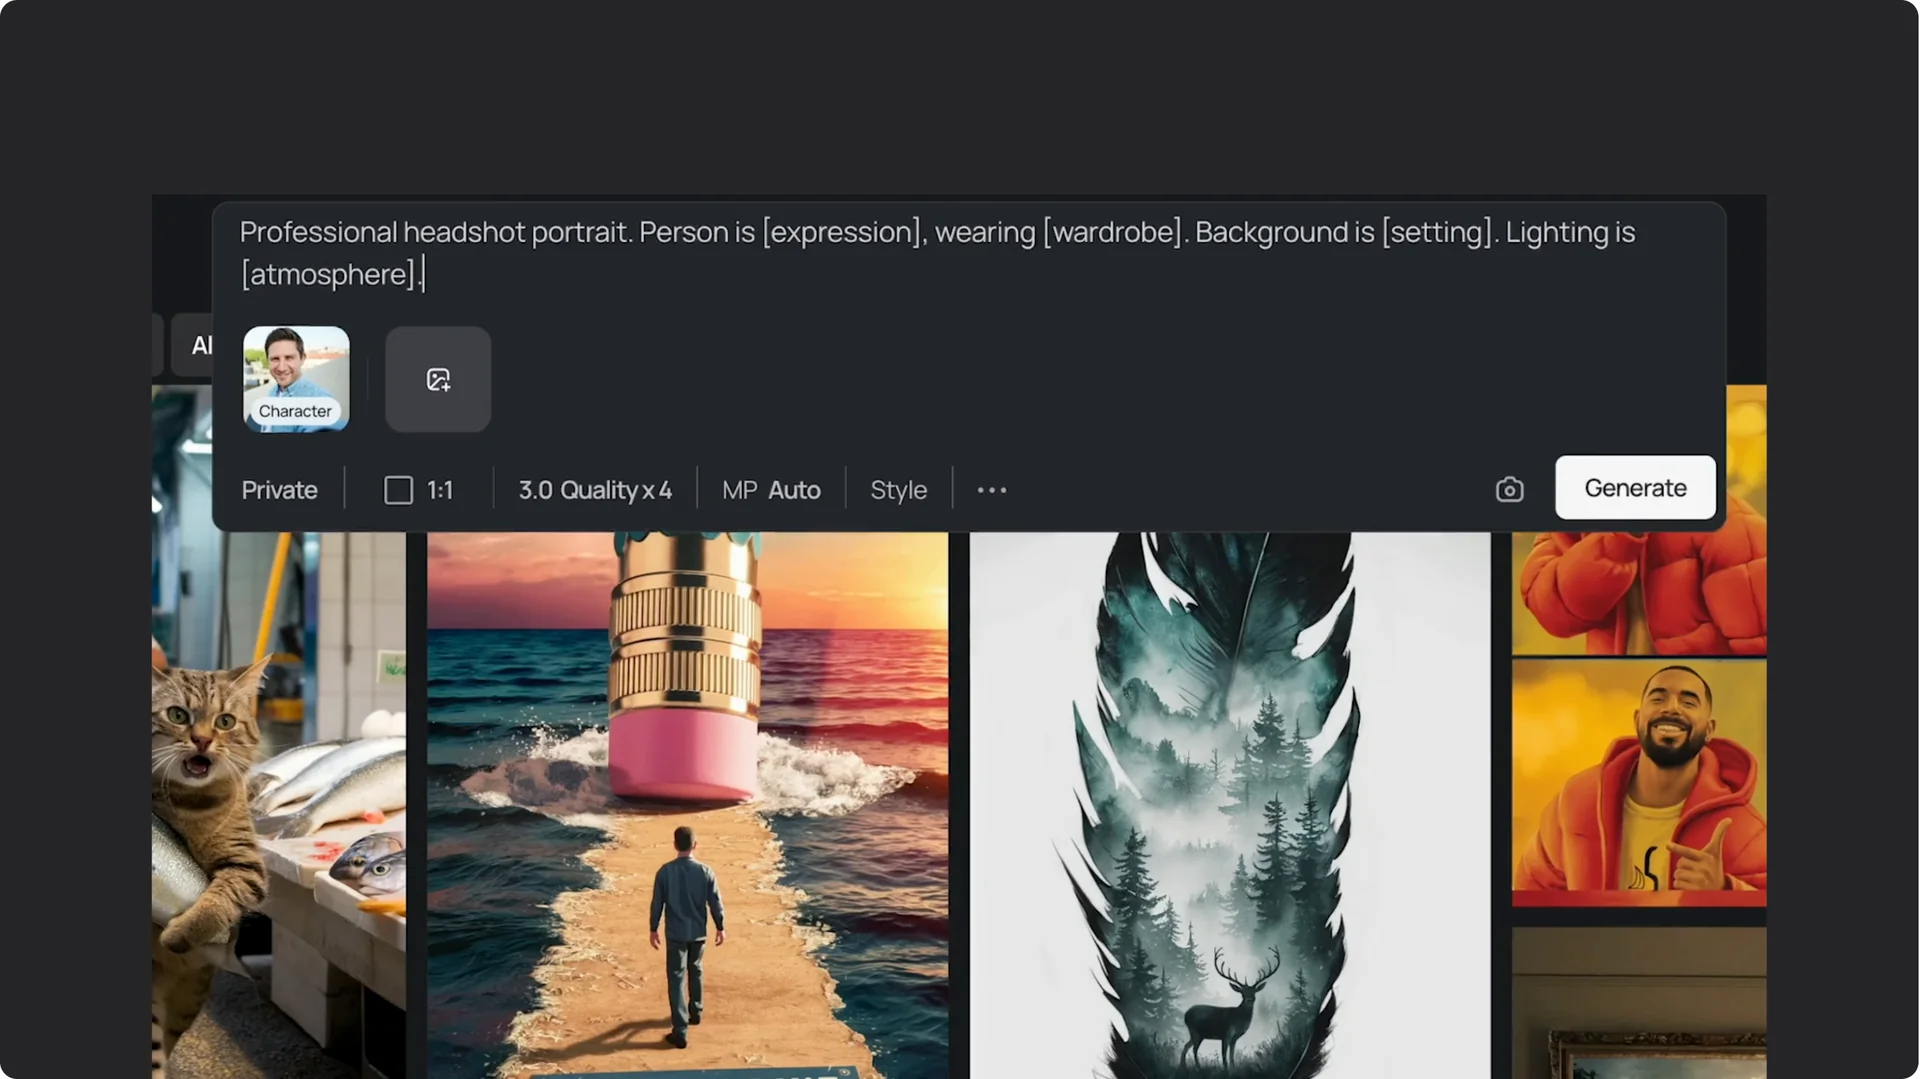
For the character reference, I’ll click the upload button, choose a picture of my friend Jenny, and select Character. She’s an art director at an agency, so she prefers her headshot to be a bit more light and friendly.
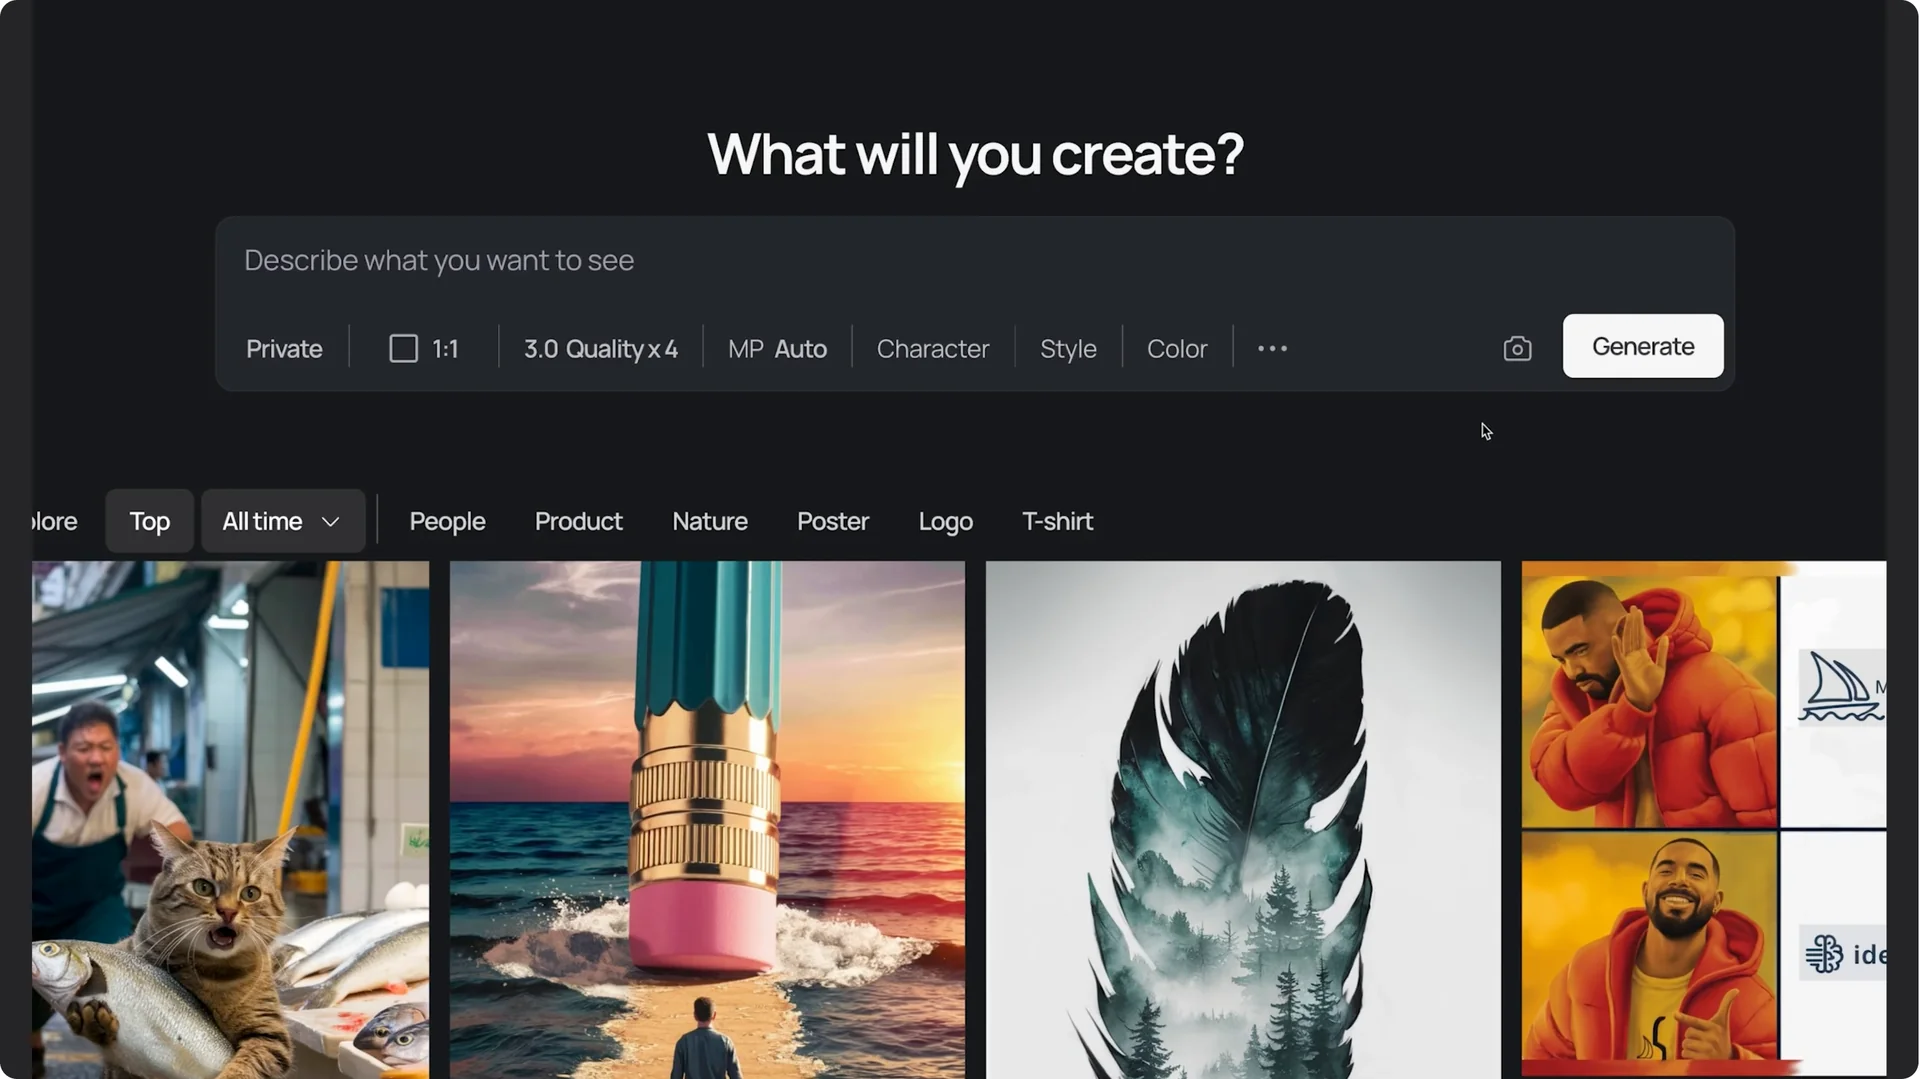
Here is my master prompt I’m using for the generations. Let’s break it down so you can adjust it for your own creations.
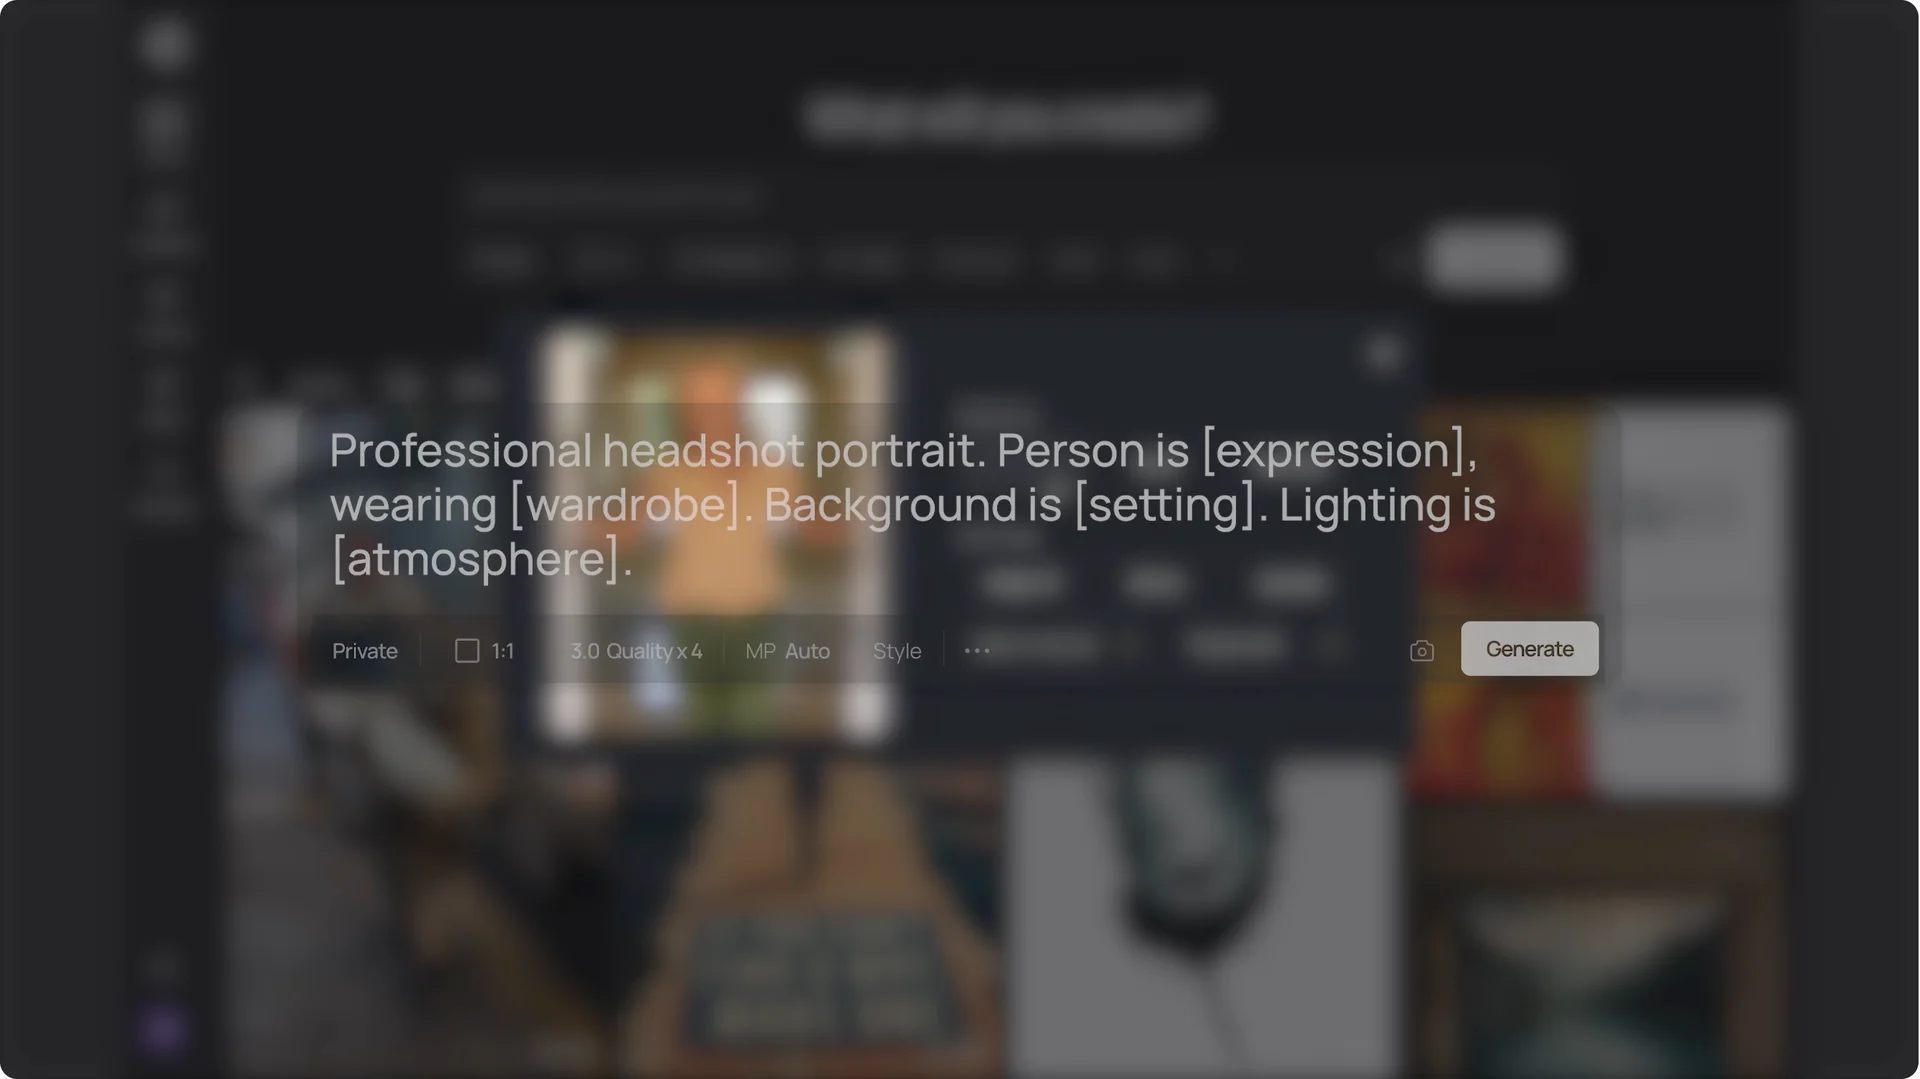
Professional headshot portrait stays the same for all my headshots. Person is here, where we describe the type of expression on their face. For Jenny, I’ll put genuine smile.
Wearing is easy. For clothing, I’ll put black V-neck t-shirt. That keeps it casual and clean.
For background, we’ll describe the setting for our scene. For Jenny, I’m looking for a studio setting for this first headshot, and I’d like it to also be a white brick wall.
Finally, lighting sets the tone for the overall image. For example, you can put warm lighting, cool, natural, cinematic, or moody. Since we’re going for a studio setting, I’ll put soft studio.
Looks good. I’ll hit Generate. Here are Jenny’s headshots.
Here are some other headshots I made for her just from changing the fields in that prompt.
Edit clothing in canvas
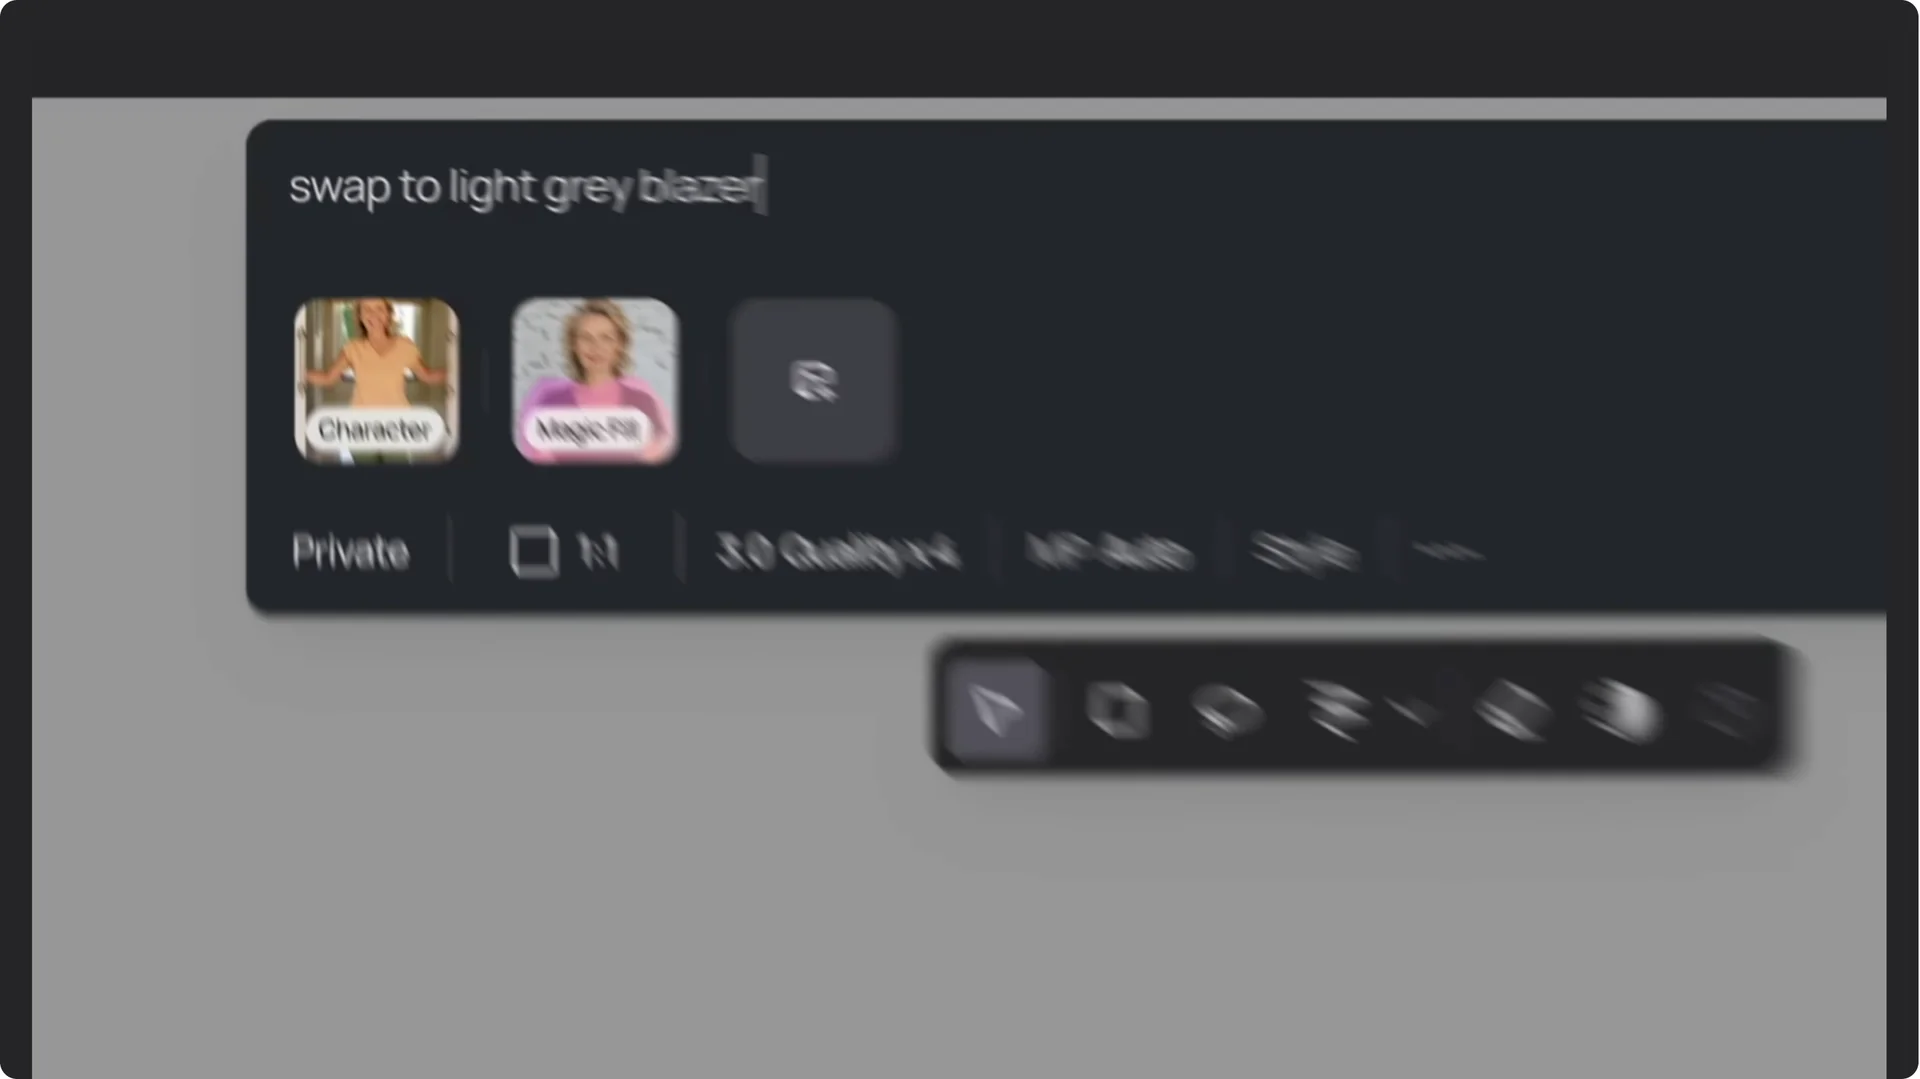
I really like her smile and the background in this headshot, but I’d like to swap out the t-shirt. We can do that in canvas.
On the image, I’ll select Open in Canvas. Then grab the Magic Fill tool and highlight over her shirt. Hit Next.
For the prompt, I’ll put swap to light gray blazer. Then hit Magic Fill. That looks pretty cool to me.
Extend the frame
Her hair is cut off a bit, so I’m going to extend the top of the frame, and I’ll do the bottom also. I’ll grab the Extend tool, change the prompt to headshot, and remove her character.
I’ll move the borders and hit Extend. Here are some other outfit swaps that I did for her.
More Ideogram AI Headshots
Next, my buddy Mark would also like some headshots. I’ll drag in the selfie that he sent me and choose Character.
Mark works in finance, so I’ll focus more on business formal type headshots. I’ll paste our master prompt and adjust it to say person is smiling, wearing a black suit, light blue shirt, background is clean white studio setting. I’ll keep the lighting to soft studio.
Hit Generate. These are all pretty good. Here are some other headshots I made for him.
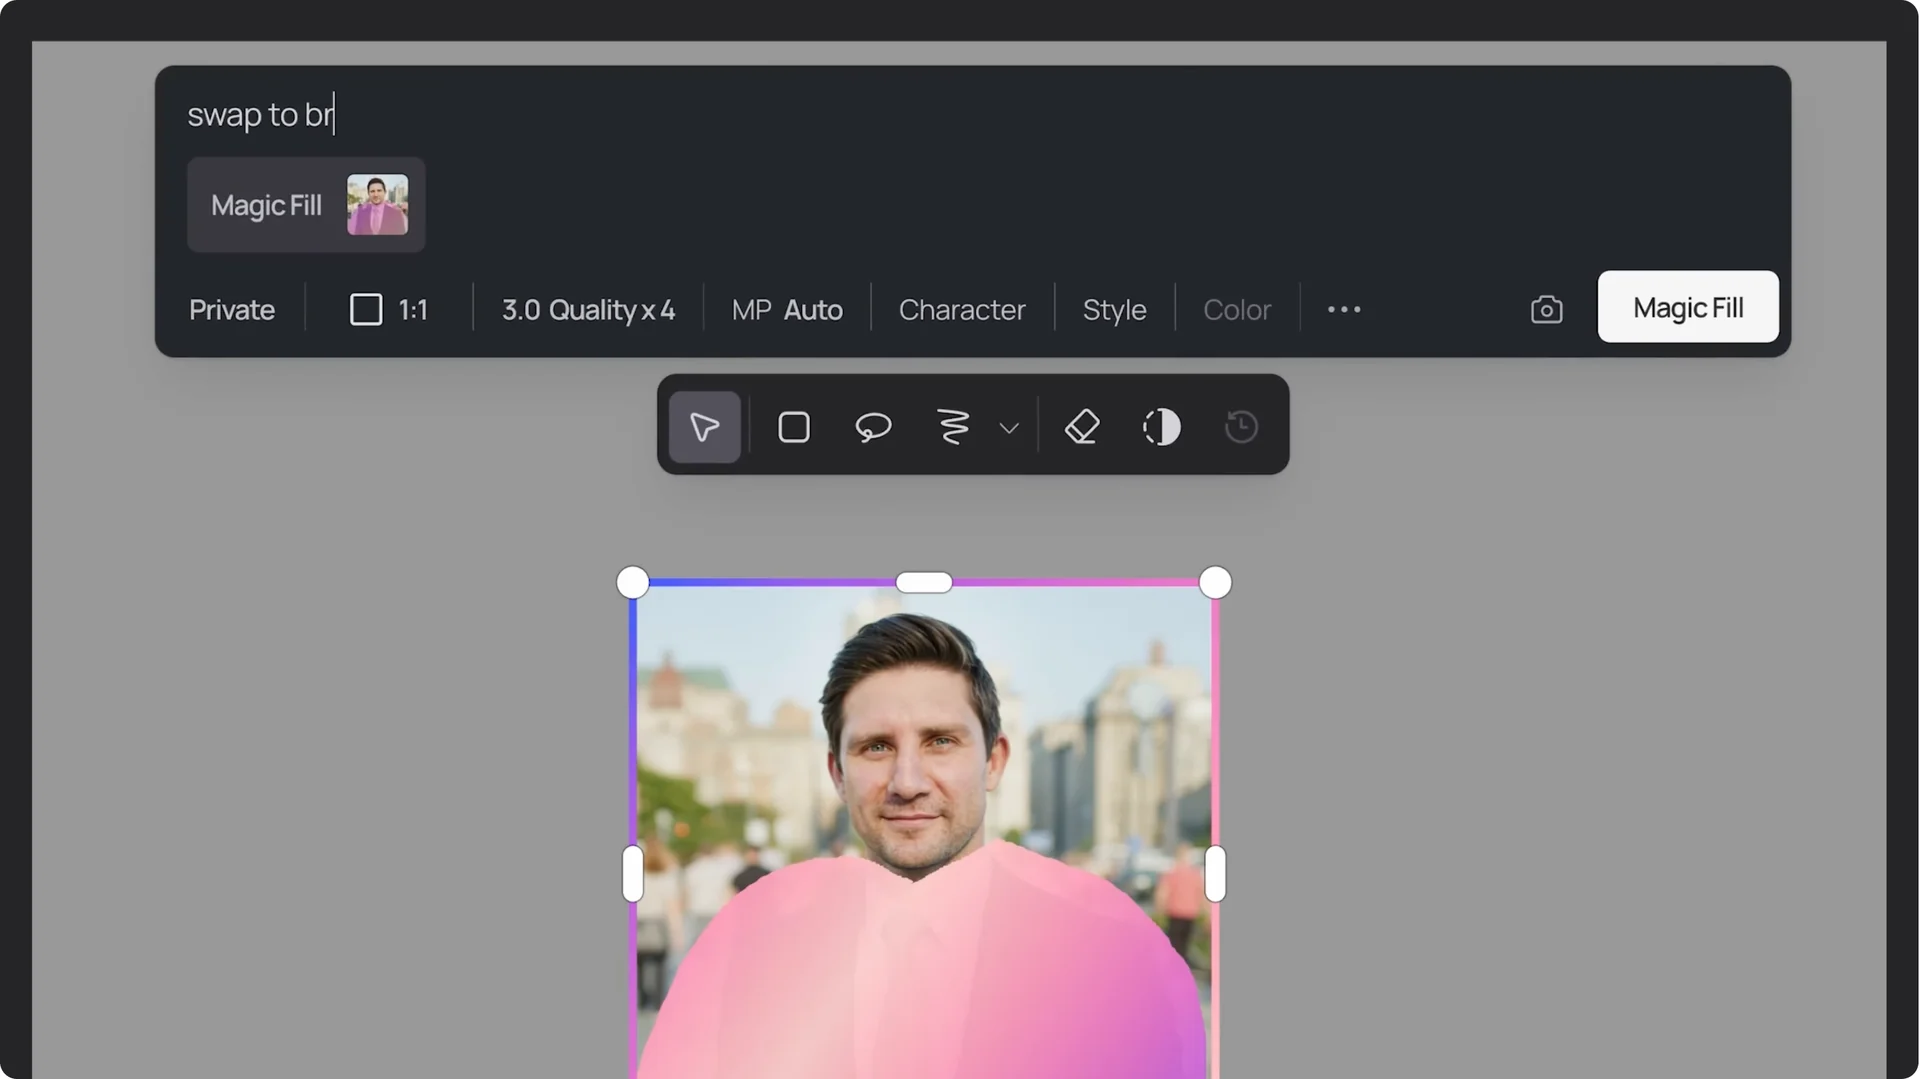
Swap suits in canvas
Keeping his smile and the background, let’s swap out the suit with some other options. We’ll open in canvas, grab the Magic Fill tool, highlight over his shirt, and hit Next.
For the prompt, I’ll put swap to brown suit, then hit Magic Fill. Pretty cool. Here are some other outfit swaps.
Maybe not that one.
Final thoughts on Ideogram AI Headshots
That’s it. When you’ve created the one, click Download, and you’re done. Upload it to LinkedIn, use it on your website, or send it to your mom so she can update the family fridge photo.
Have fun creating.