
Idog AI has a consistent character feature, and they’ve added another way to use it called face swap, which allows you to change the faces of people and characters with ease. AI face swap has existed before, but Idog AI is one of the first AI image generators to incorporate it directly. Let’s see how well it works and if this new upgrade is truly worth the attention.
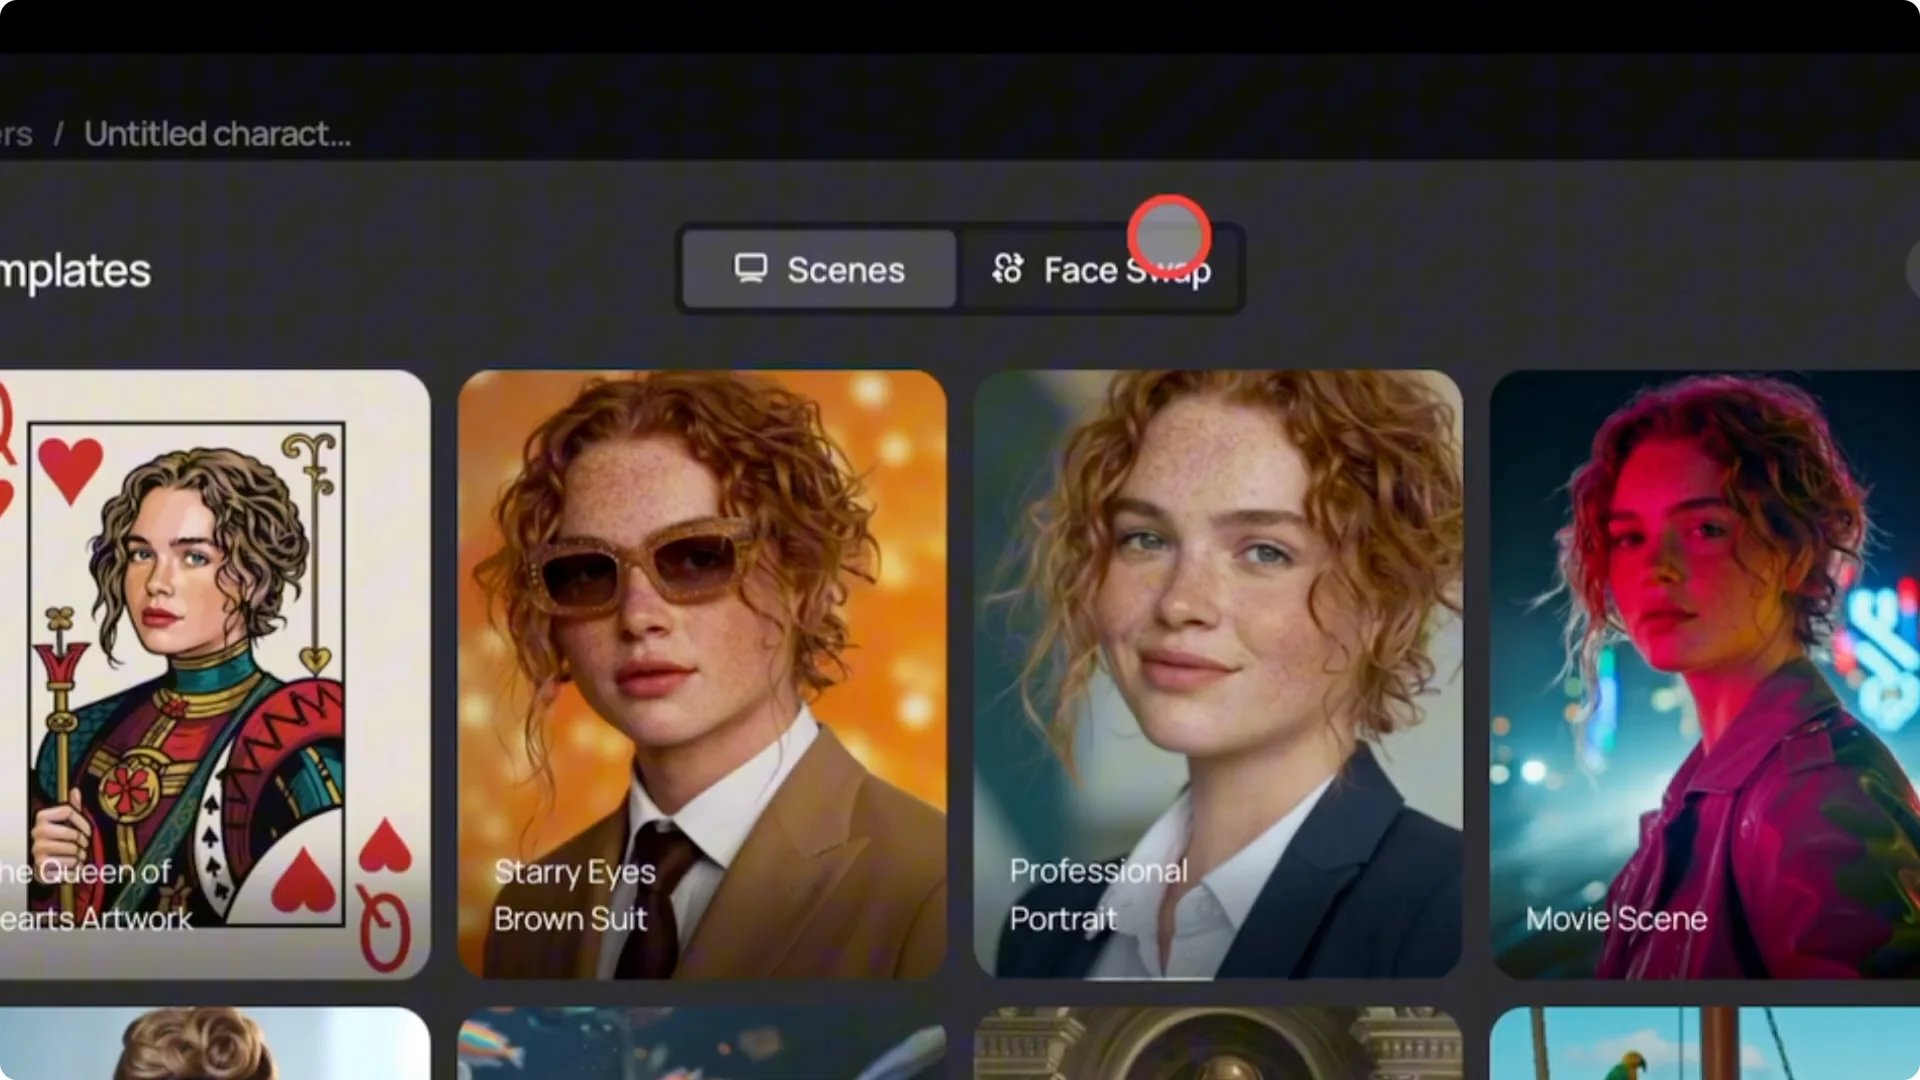
The first thing to do is log into Idog AI and go to the character tab. Upload an image and you will see options to use templates. When you click on templates, you will see the option for scenes and face swap.
Ideogram AI Face Swap Tutorial: Getting Started
I will be focusing solely on the face swap. There are some built-in templates provided by Idog AI, and there aren’t many female templates here, so I’m going to select this one. Once I select it, it automatically adds the prompt to the text box.
You can adjust the settings if you want, but I’m not going to do that because it’s not necessary. I will just click on magic fill and view the result. I think it’s amazing.
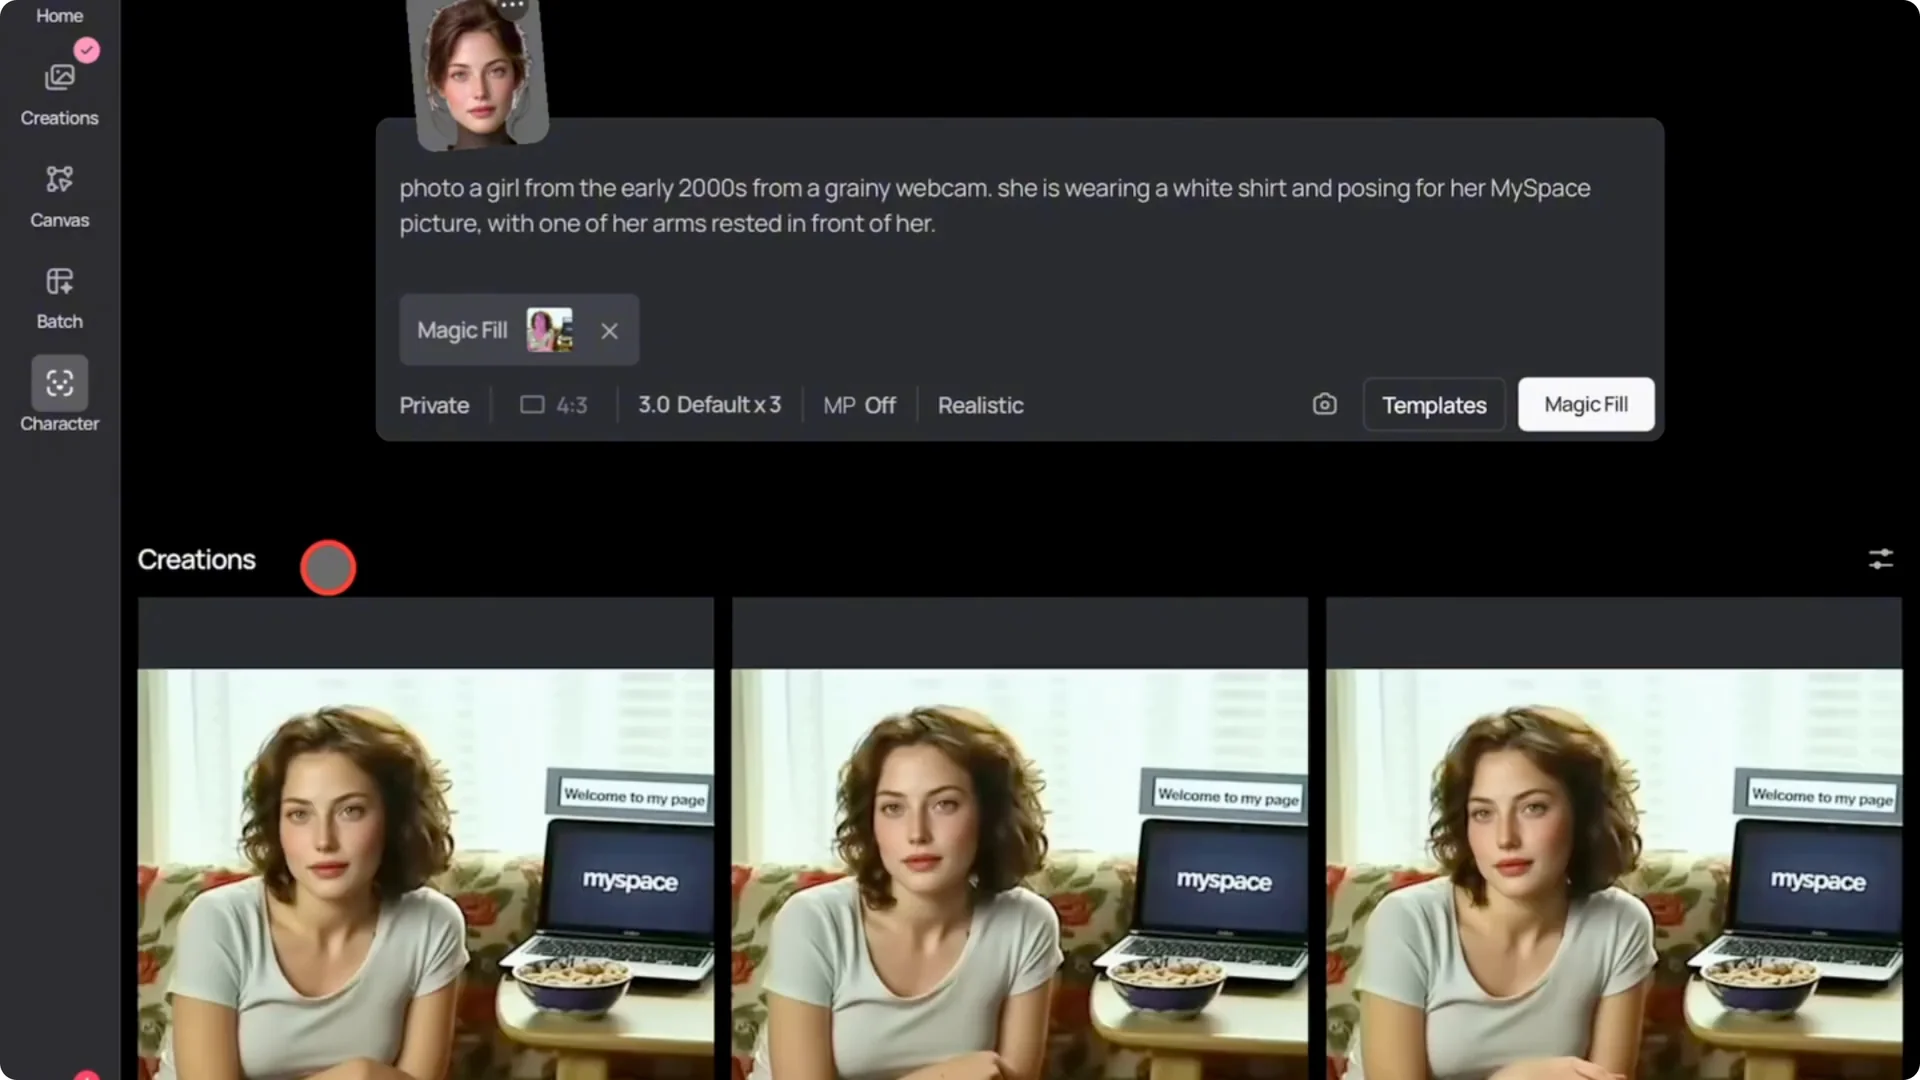
I’ve used many other AI face swap tools, and this one feels impressive. It doesn’t just change the face. You can also select things like the hands.
Ideogram AI Face Swap Tutorial: Using Your Own Images
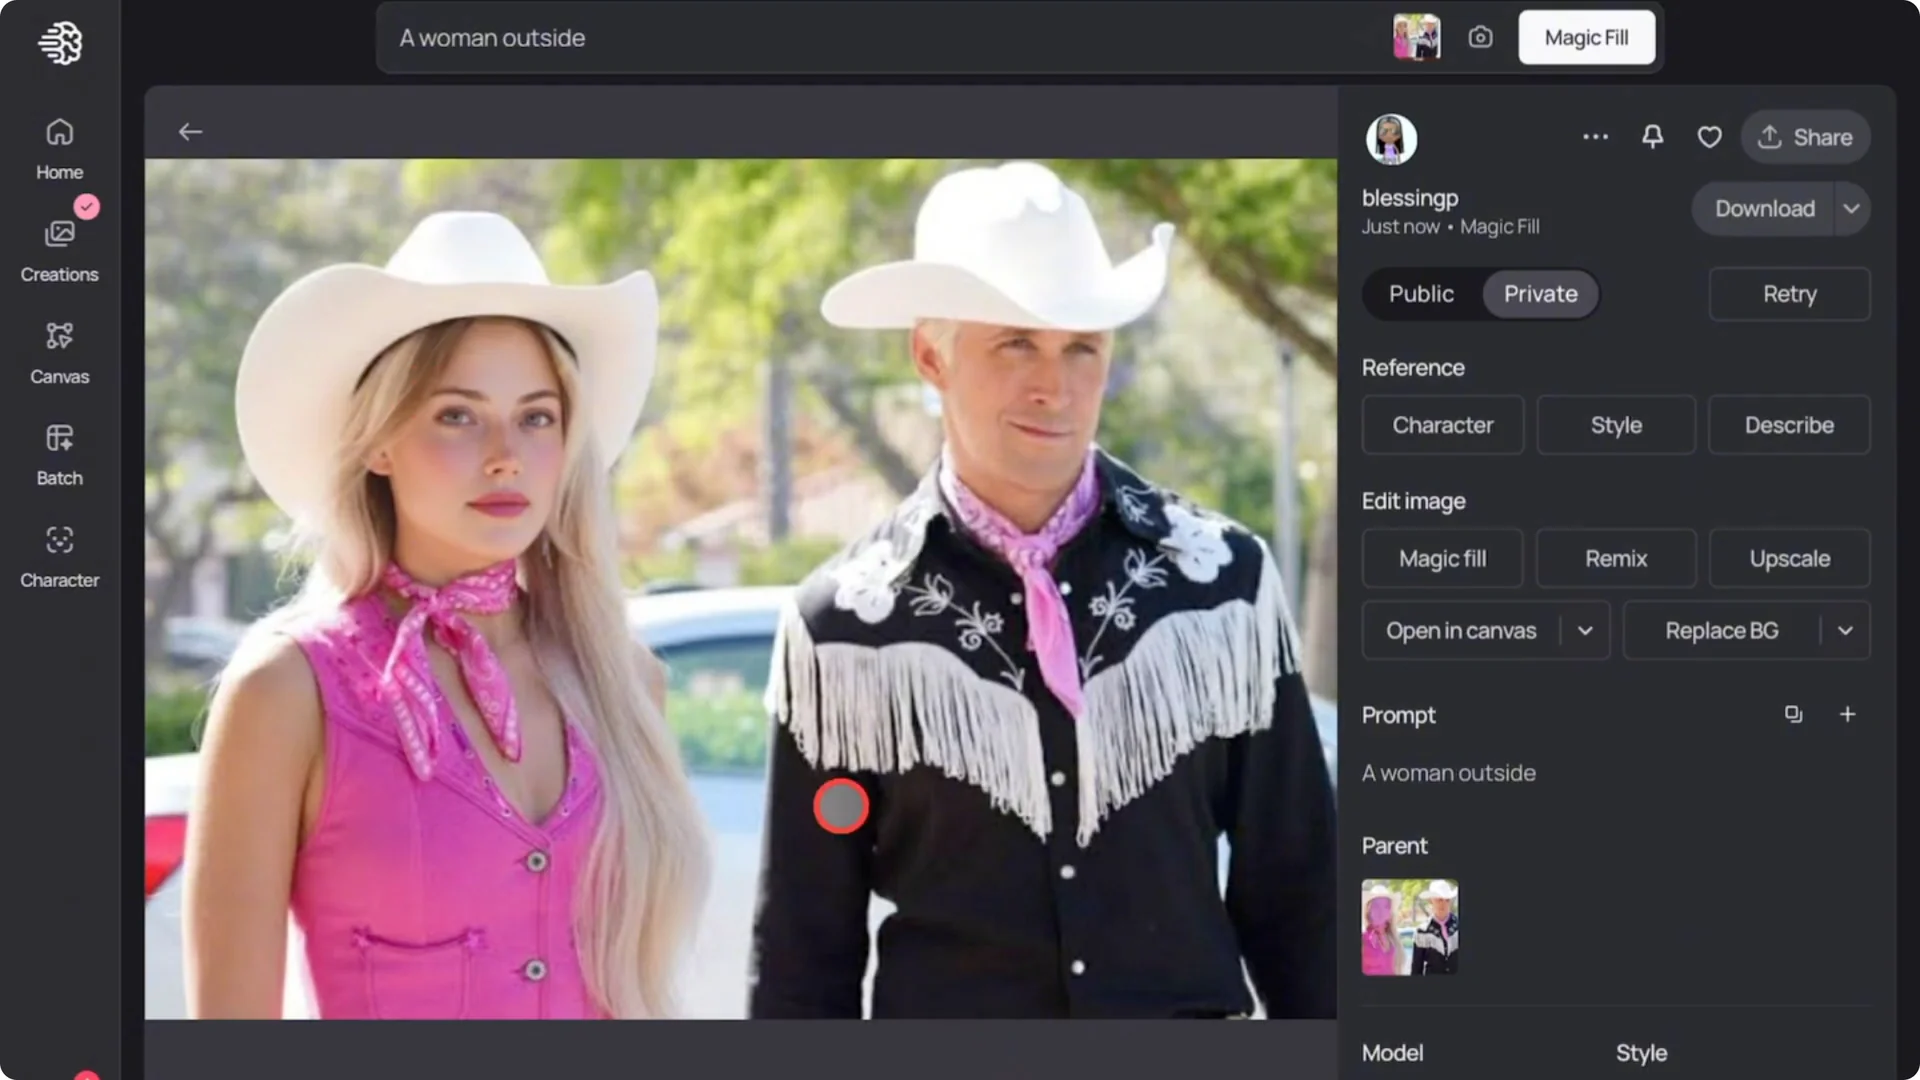
This time, I’m going to remove their template and select a scene from the Barbie movie because sometimes you just want to put your face on Barbie. Remove the template by clicking the X on the image. Click on the image upload icon and upload my chosen image, in this case, the Barbie scene.
Once it uploads, select magic fill. Use the brush tool to select the area of the image you want to swap, and in this case, I only want to do the face. Click next.

I will write a simple prompt, and you should keep it short. If the prompt is too long, the AI might get confused. Click magic fill again and view the result.
I think it’s great. I made a mistake and accidentally selected part of Barbie’s blonde hair, so it reflected in the new image. That’s why you have to be careful with your selections because whatever area you select will be edited.
Ideogram AI Face Swap Tutorial: Group Photo Face Swaps
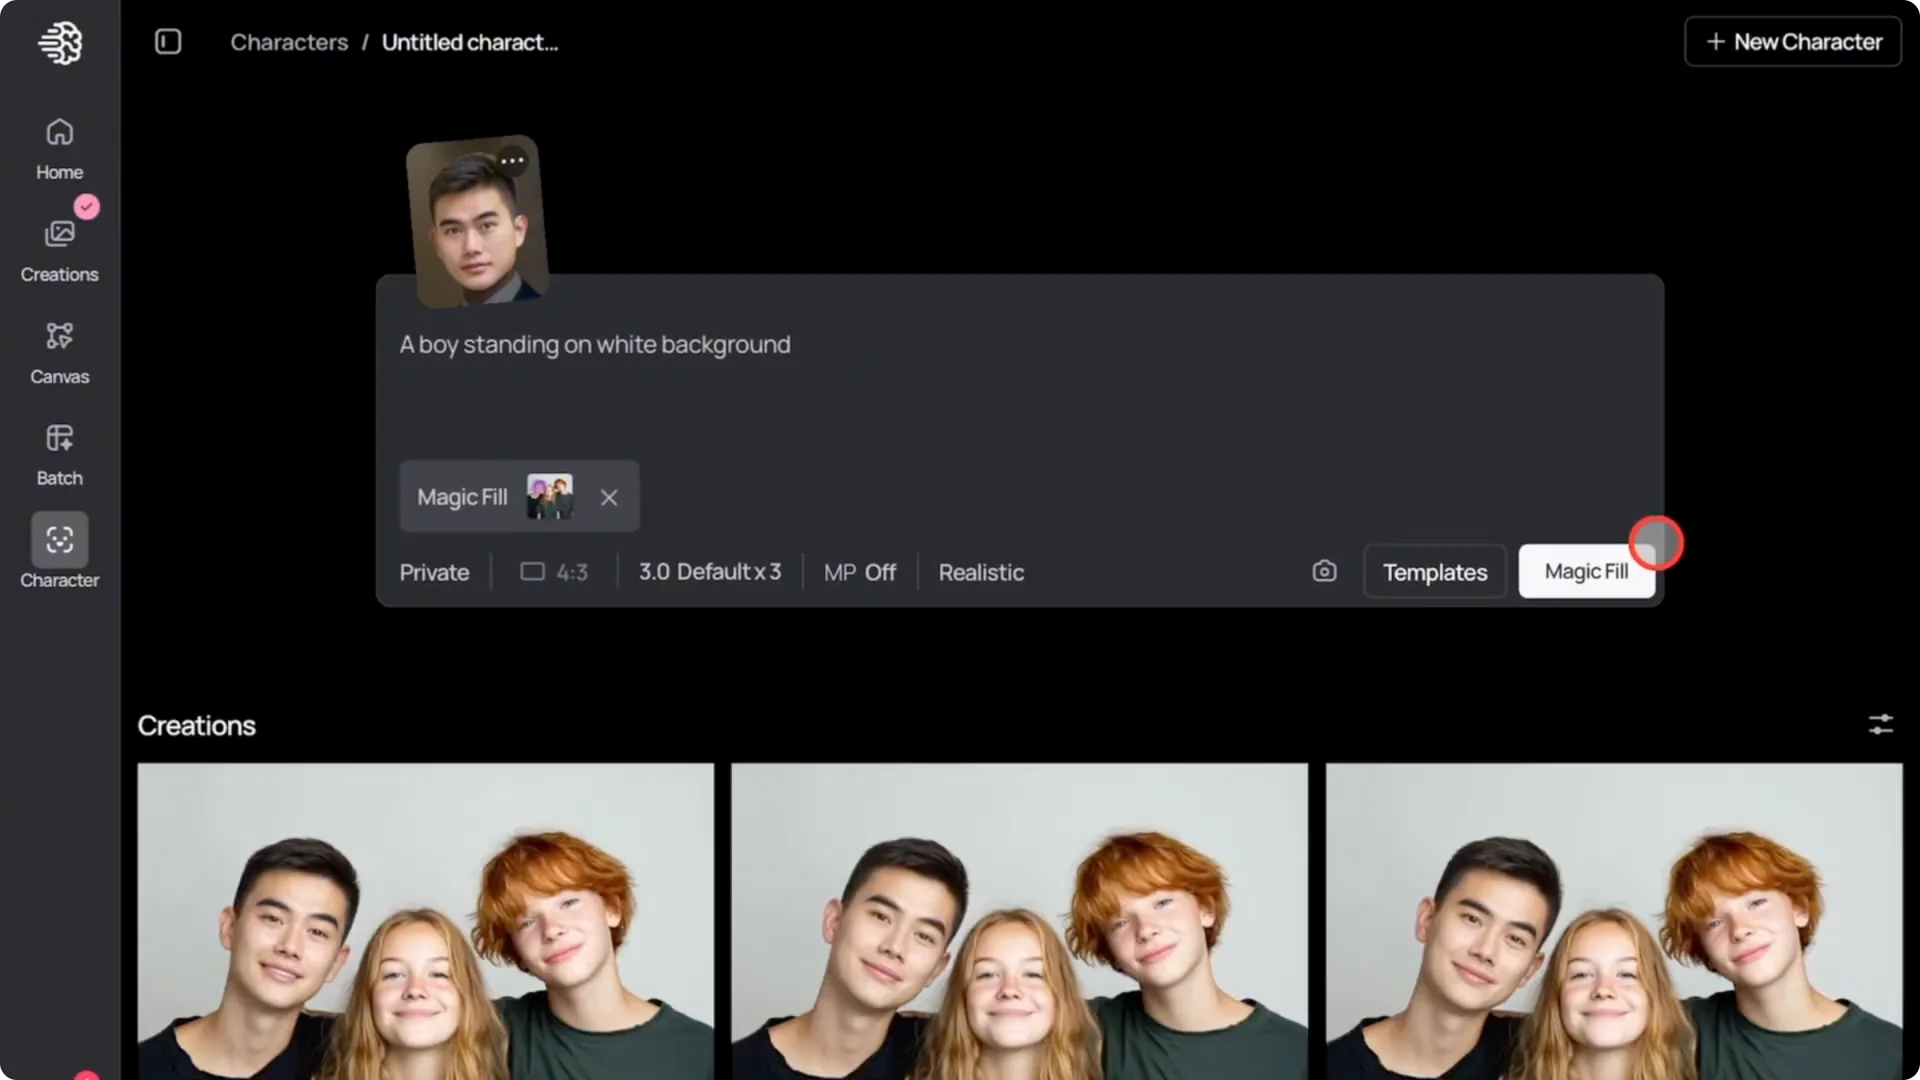
Use face swap on a group photo like you would in Photoshop. It’s very easy to do with this feature, and I will select a character I already uploaded earlier. Then I’ll upload the group image.
I will repeat the selection process again. This time I’ll carefully use the eraser tool to avoid selecting hair or other parts of people in the photo. This is very important in group edits.
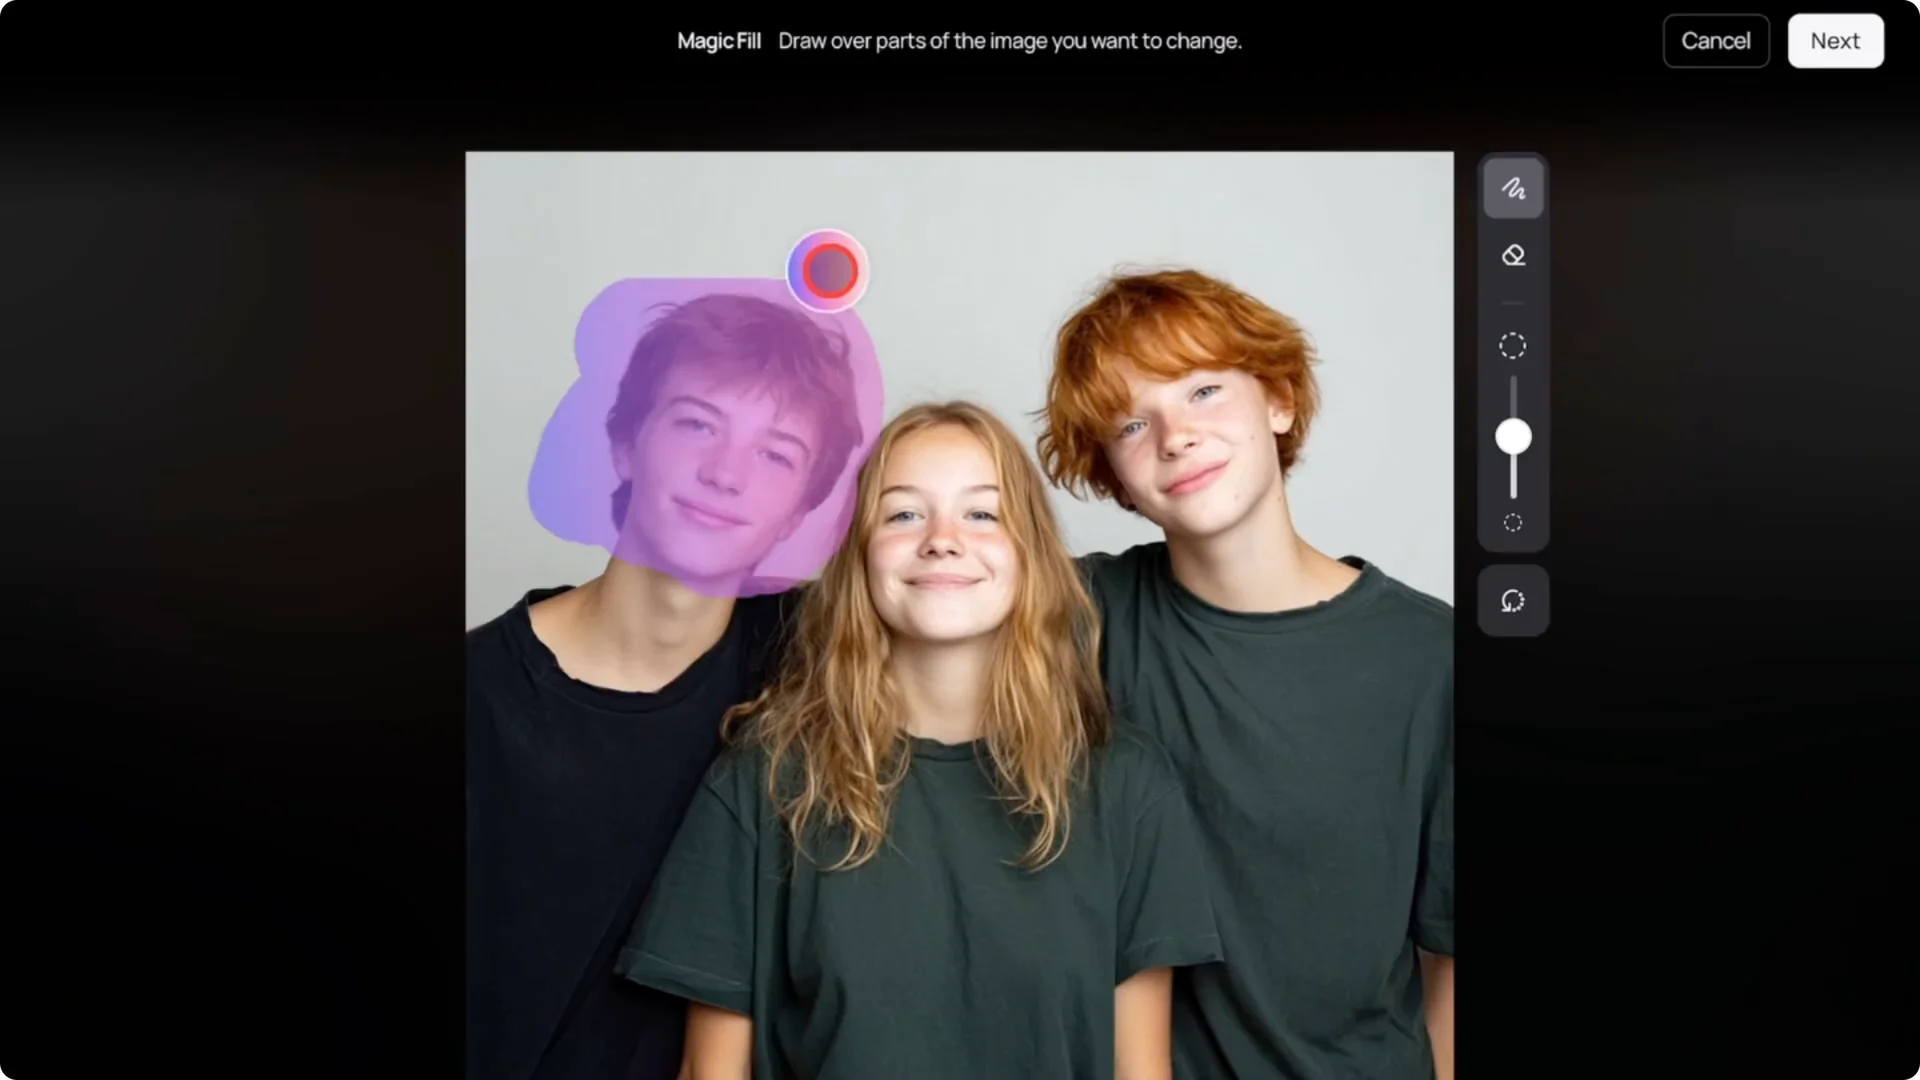
Once I’ve cleaned the selection, I’ll add a simple five word prompt. Then click on magic fill. The result looks perfect.
Ideogram AI Face Swap Tutorial: Add Multiple People
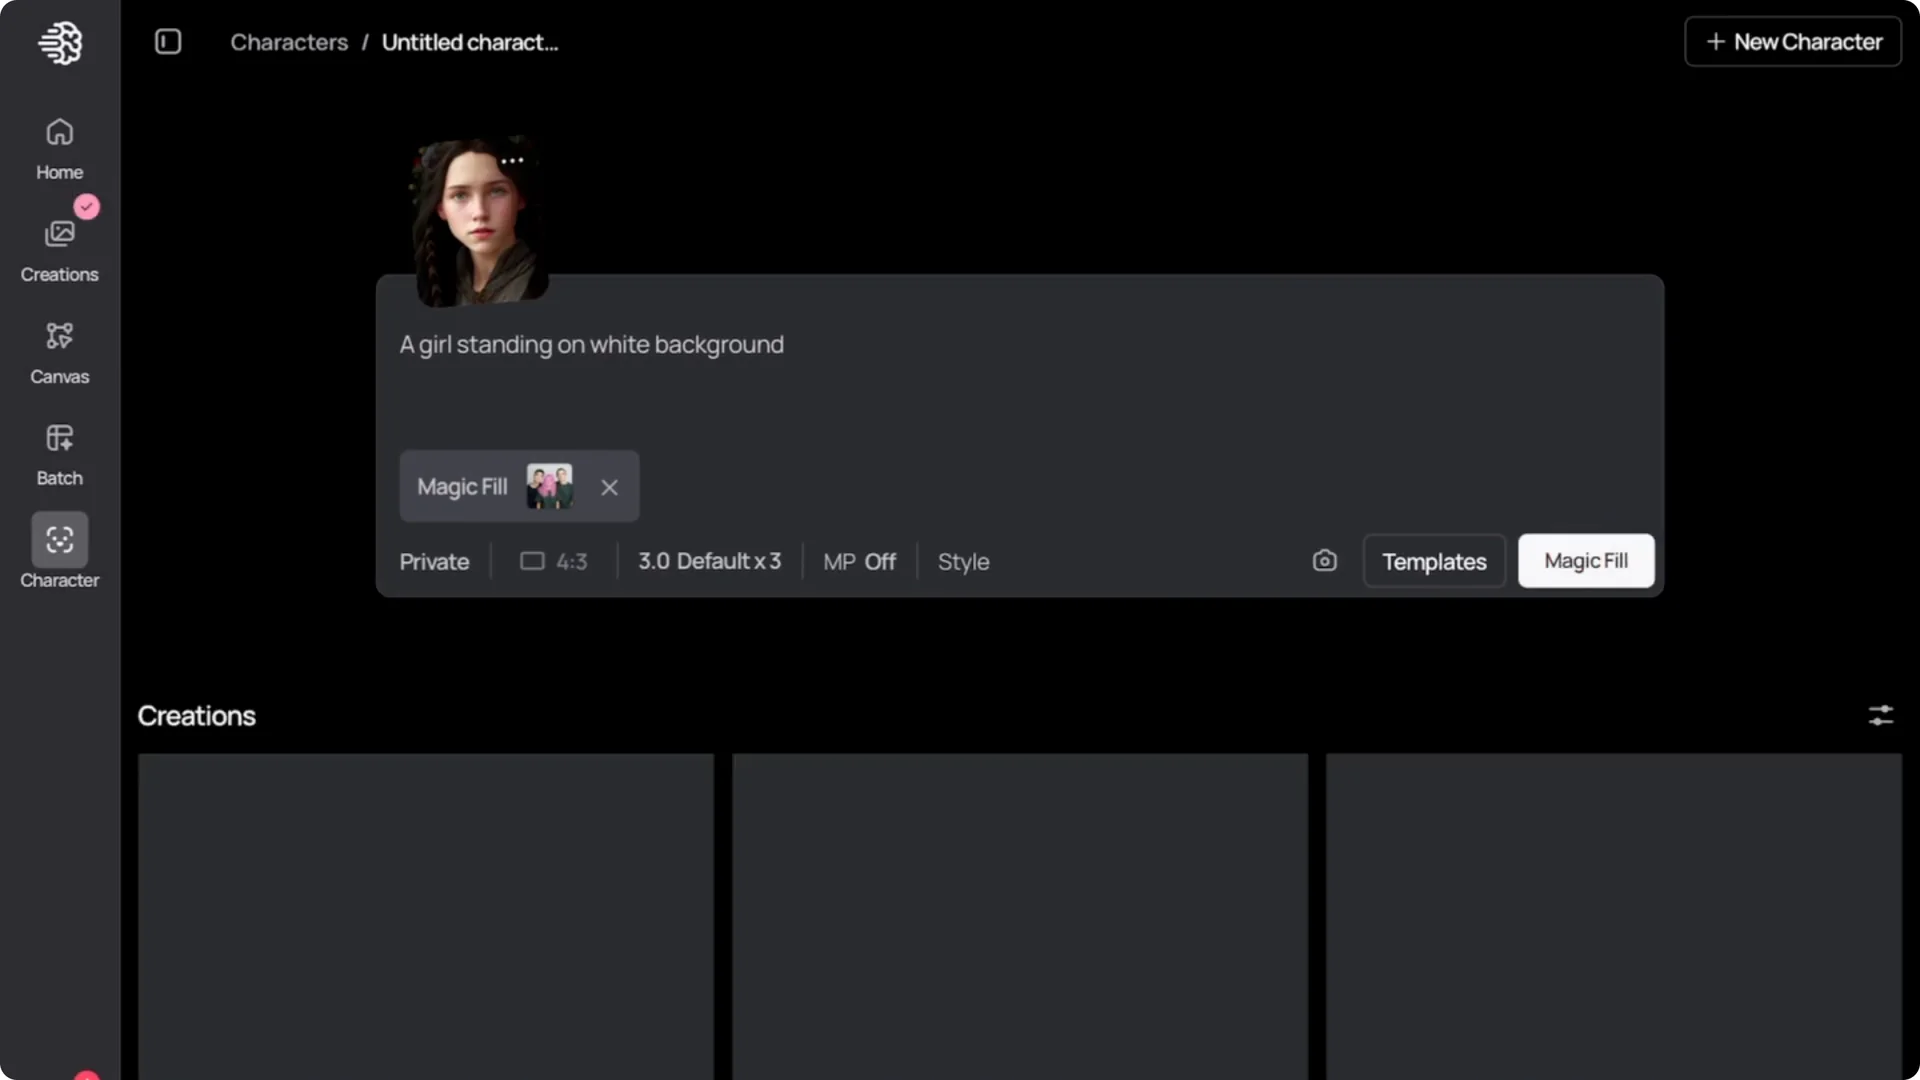
Now let’s add the next person. With the new image selected, click magic fill again, and it will take you back to the character page. Remove the initial character and upload a new one.
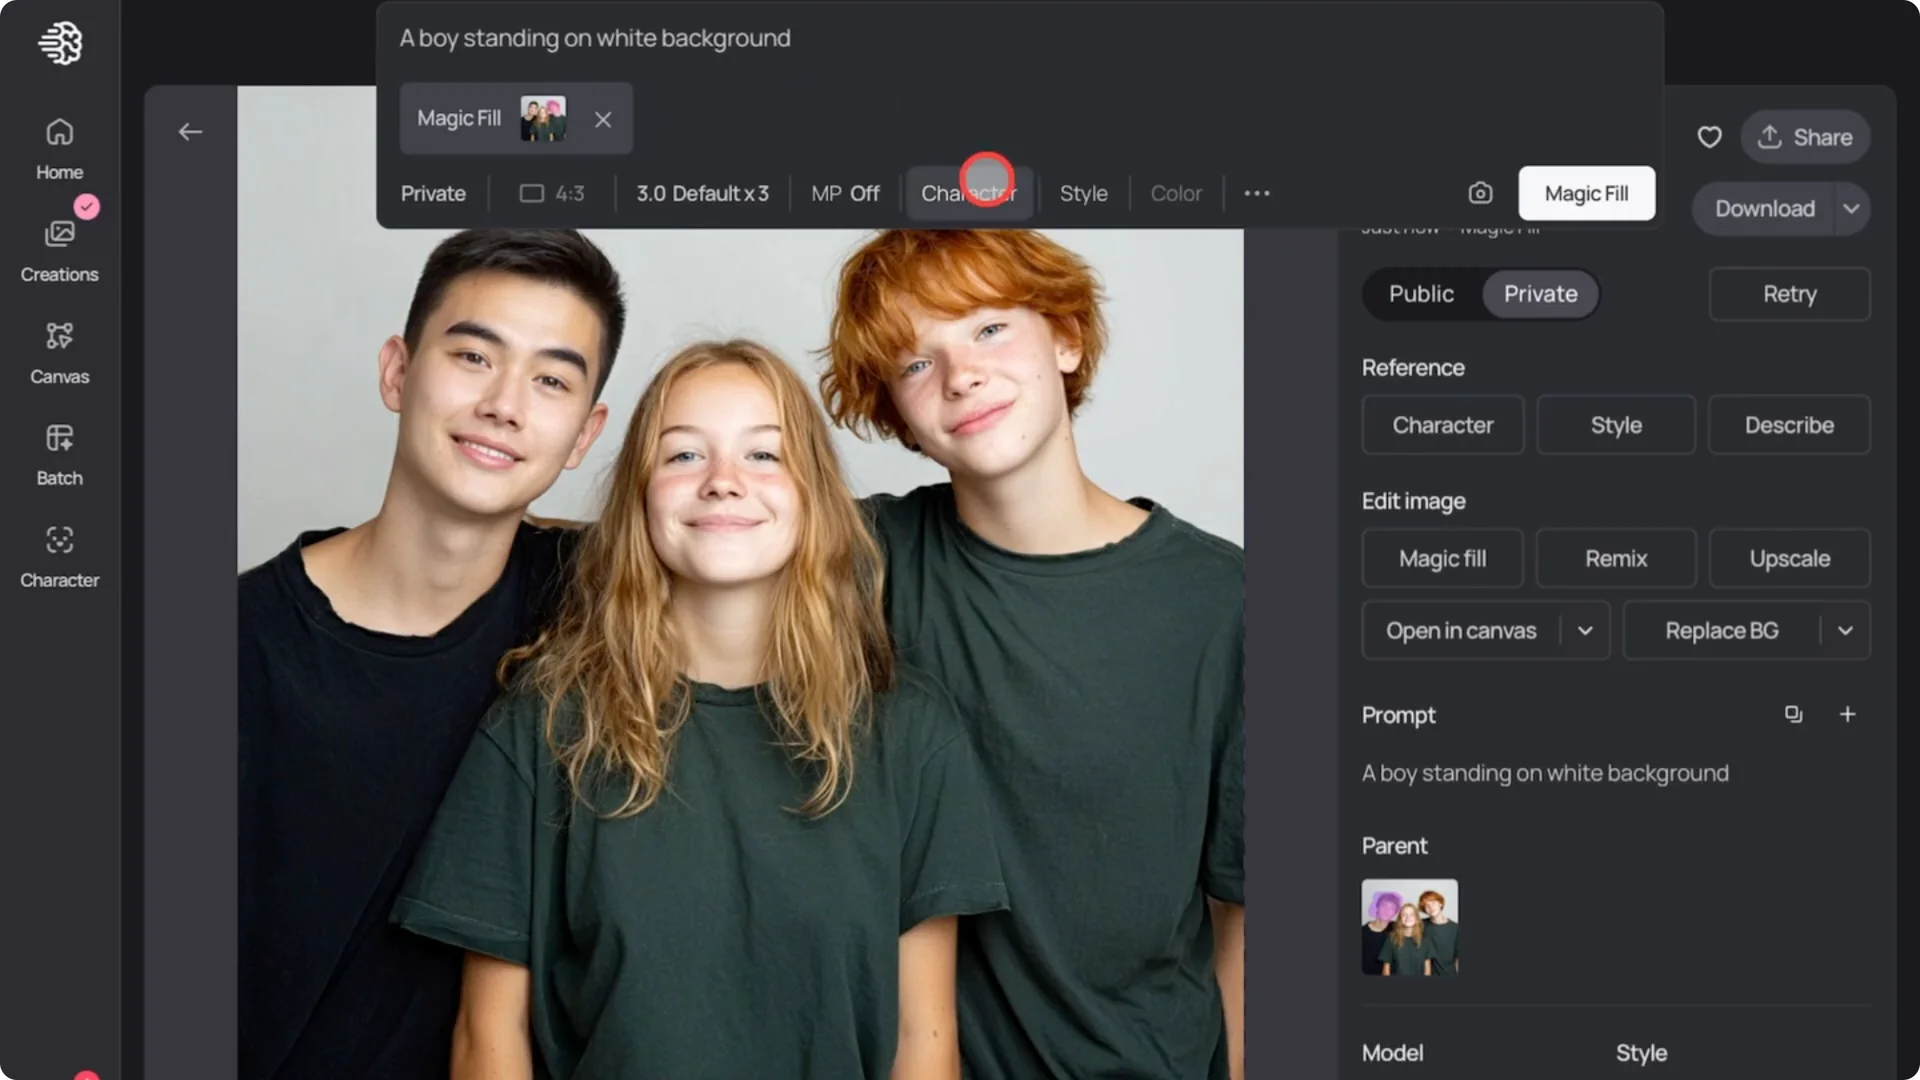
Now there are two changed faces in the group photo and it looks real good. Let’s do the last person. This time I want to change not only her face but also her hair.
I’ll take my time selecting carefully, making sure I don’t overlap the selection with anyone else. I’ll make sure to change the prompt to girl, then run it. It changed her face, hair, eyes, and blended everything perfectly into the group.
I think if you have more than 10 people in one photo, it might get tricky, but for smaller groups, it works amazingly well. Honestly, I’ve never seen a face swap tool that can do this with such clean results. This really feels significant for editing images.
You don’t need Photoshop anymore. This gives you professional results instantly, and I absolutely love it.
Ideogram AI Face Swap Tutorial: Final Thoughts
Face swap in Idog AI is straightforward and powerful, with templates for quick results and custom uploads for precise edits. Keep prompts short and be meticulous with selections, especially around hair and overlapping areas. For small groups, the results are clean, consistent, and ready to use.