I’m excited to introduce a fun new feature we’ve released for Ideogram: background removal. This tool works on any image, generated with Ideogram or uploaded from your own files.
It allows you to change your background or even modify parts of your subject while keeping specific elements untouched. This feature is available across Basic, Plus, and Pro plans. For a broader overview, see key features.
Ideogram Background Removal basics
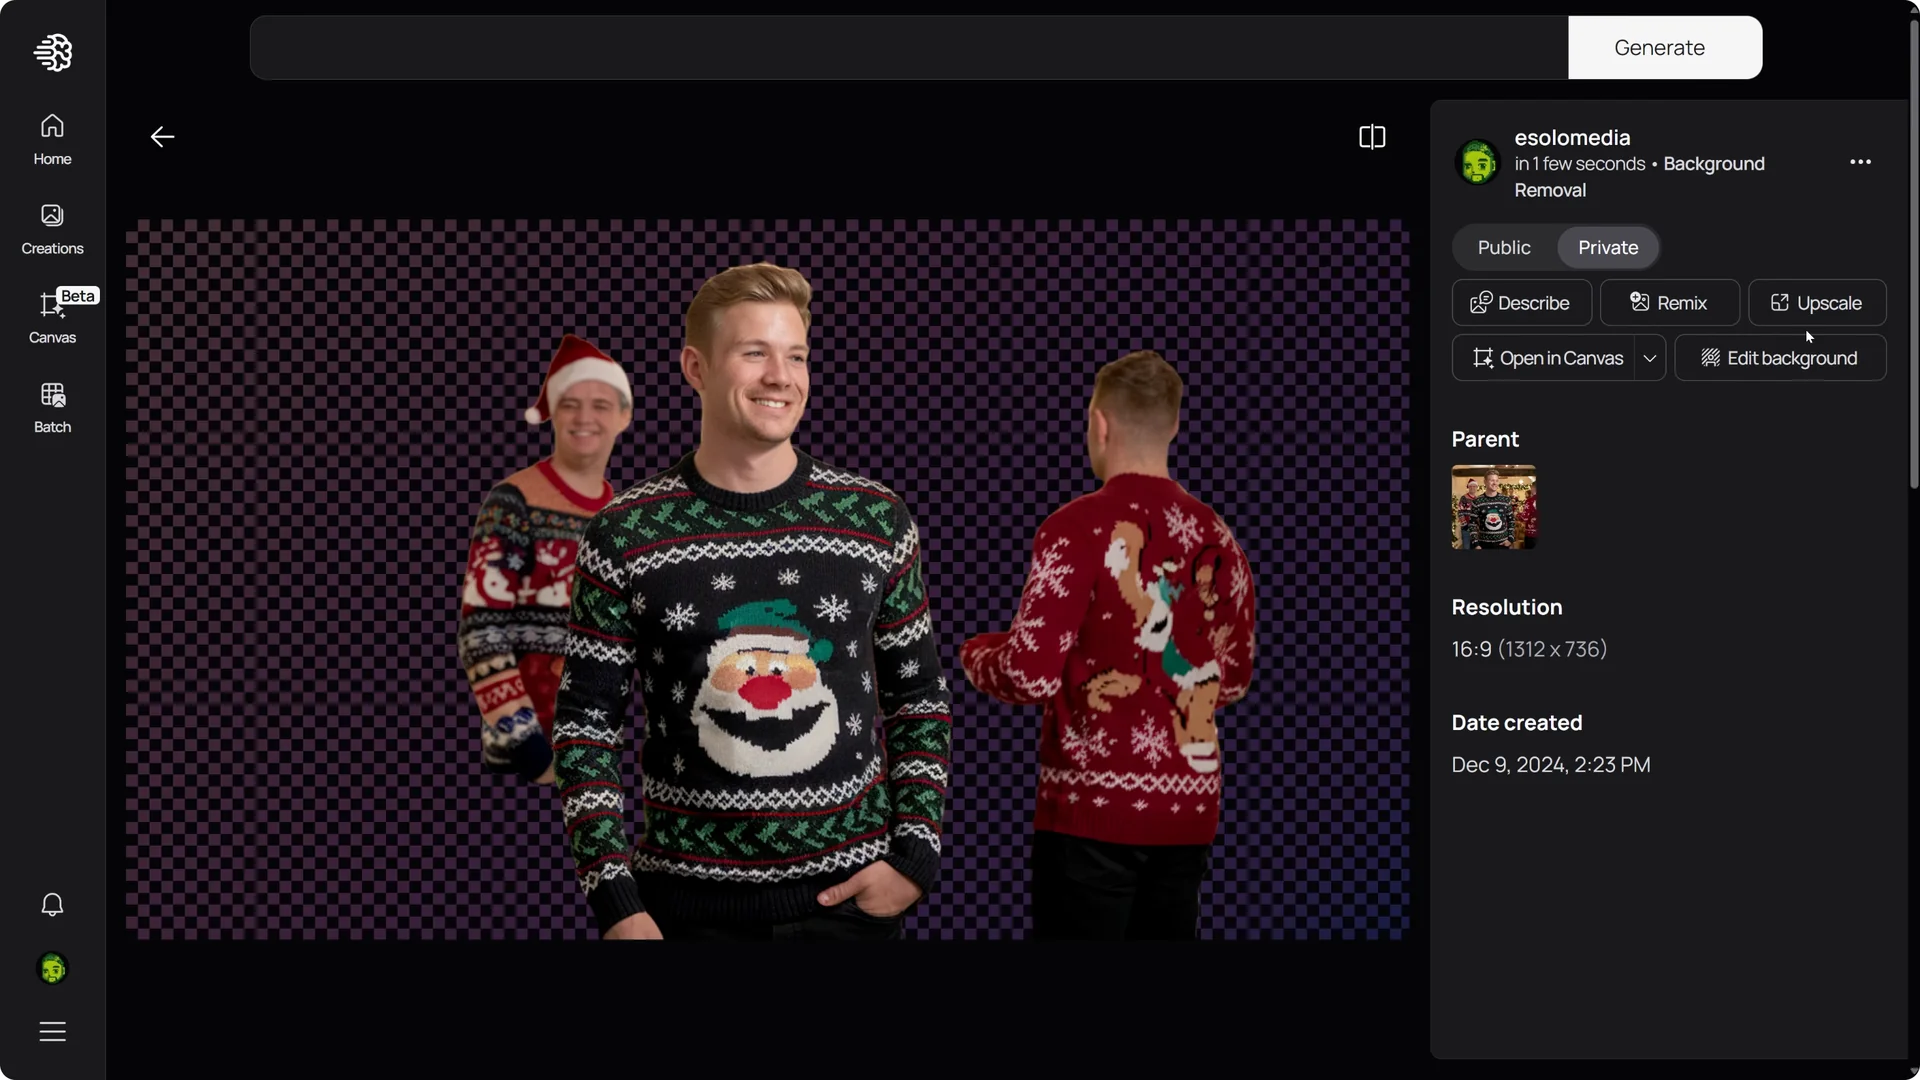
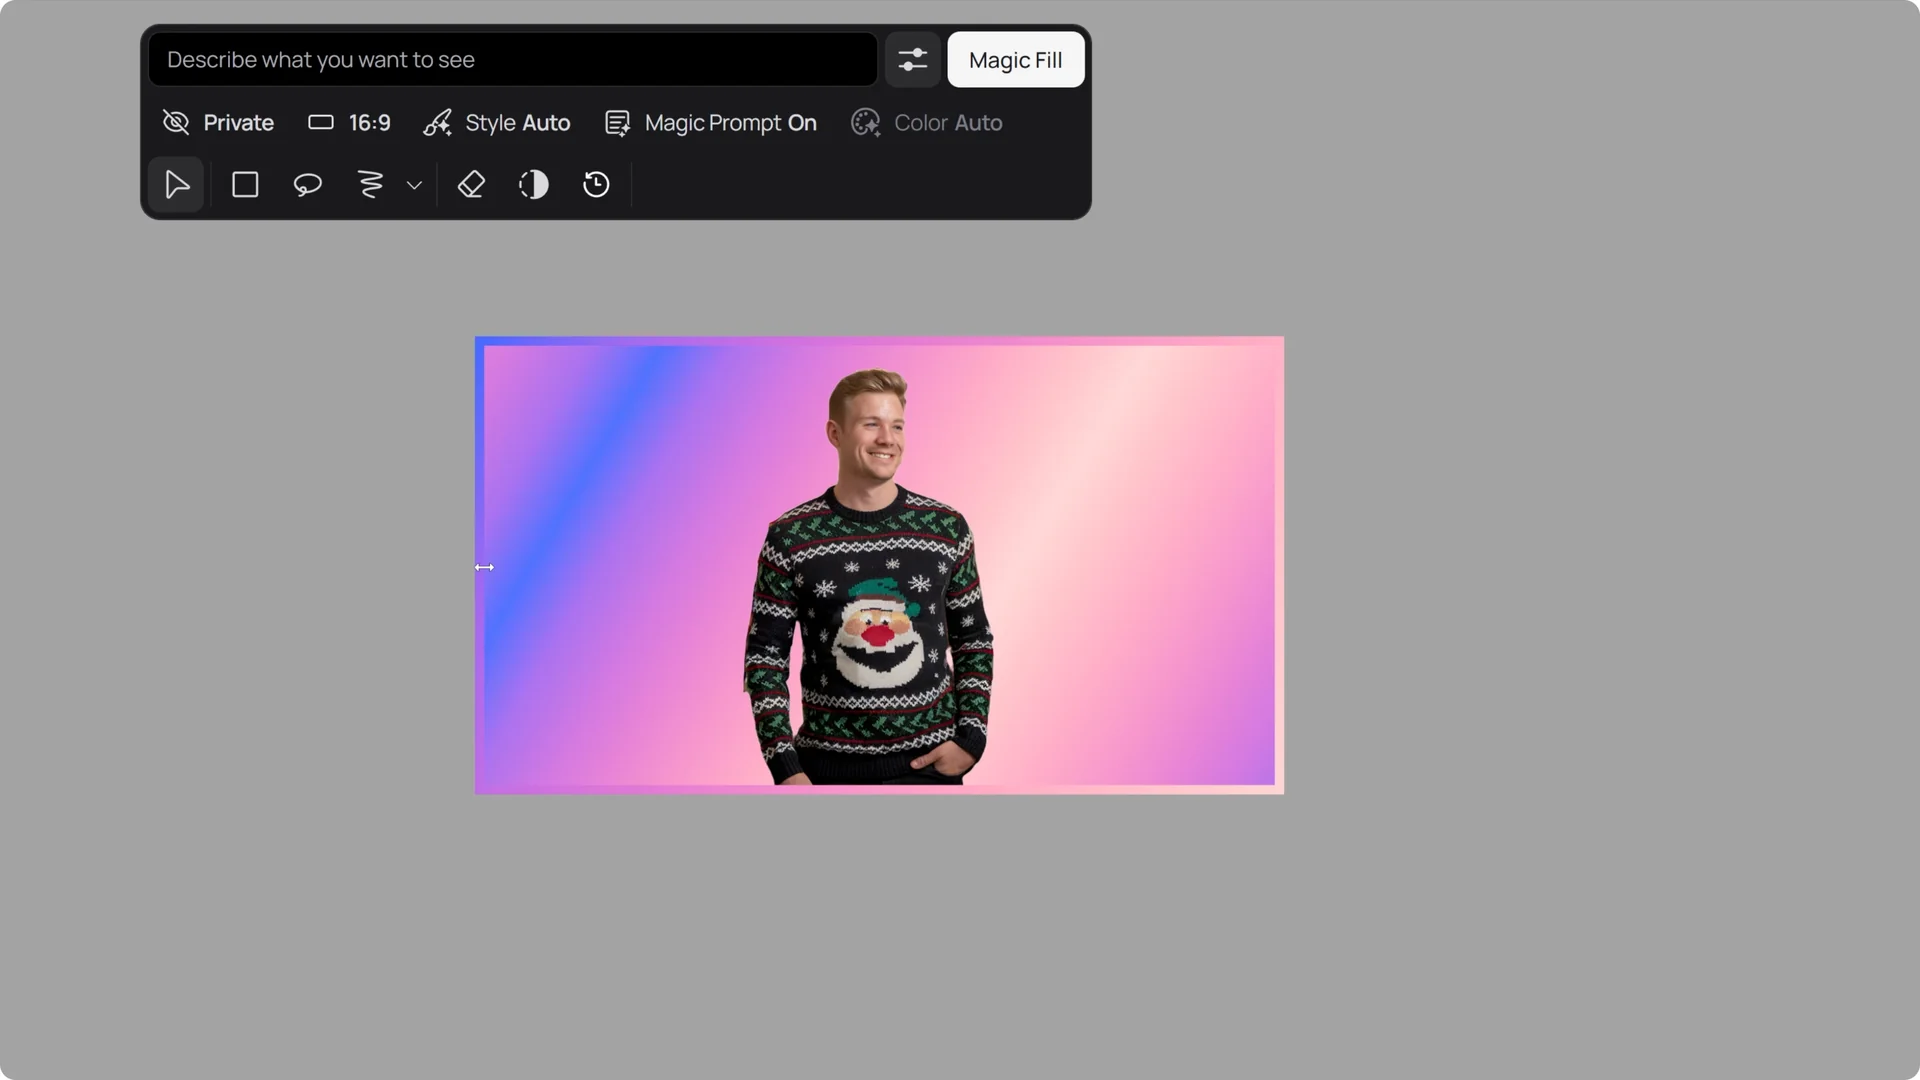
Let’s say you like this image that you generated or perhaps you took the photo, but you want to change the background or even his outfit while keeping his face intact. First, remove the background.
Remove the background
Click Remove Background. The tool does an excellent job identifying the subjects and removing everything else.
If you do not want the other two people in the image, make manual adjustments using Edit Background.
You have several tools to work with: the brush, lasso, and rectangular mask, which allow you to add to or remove from your image.

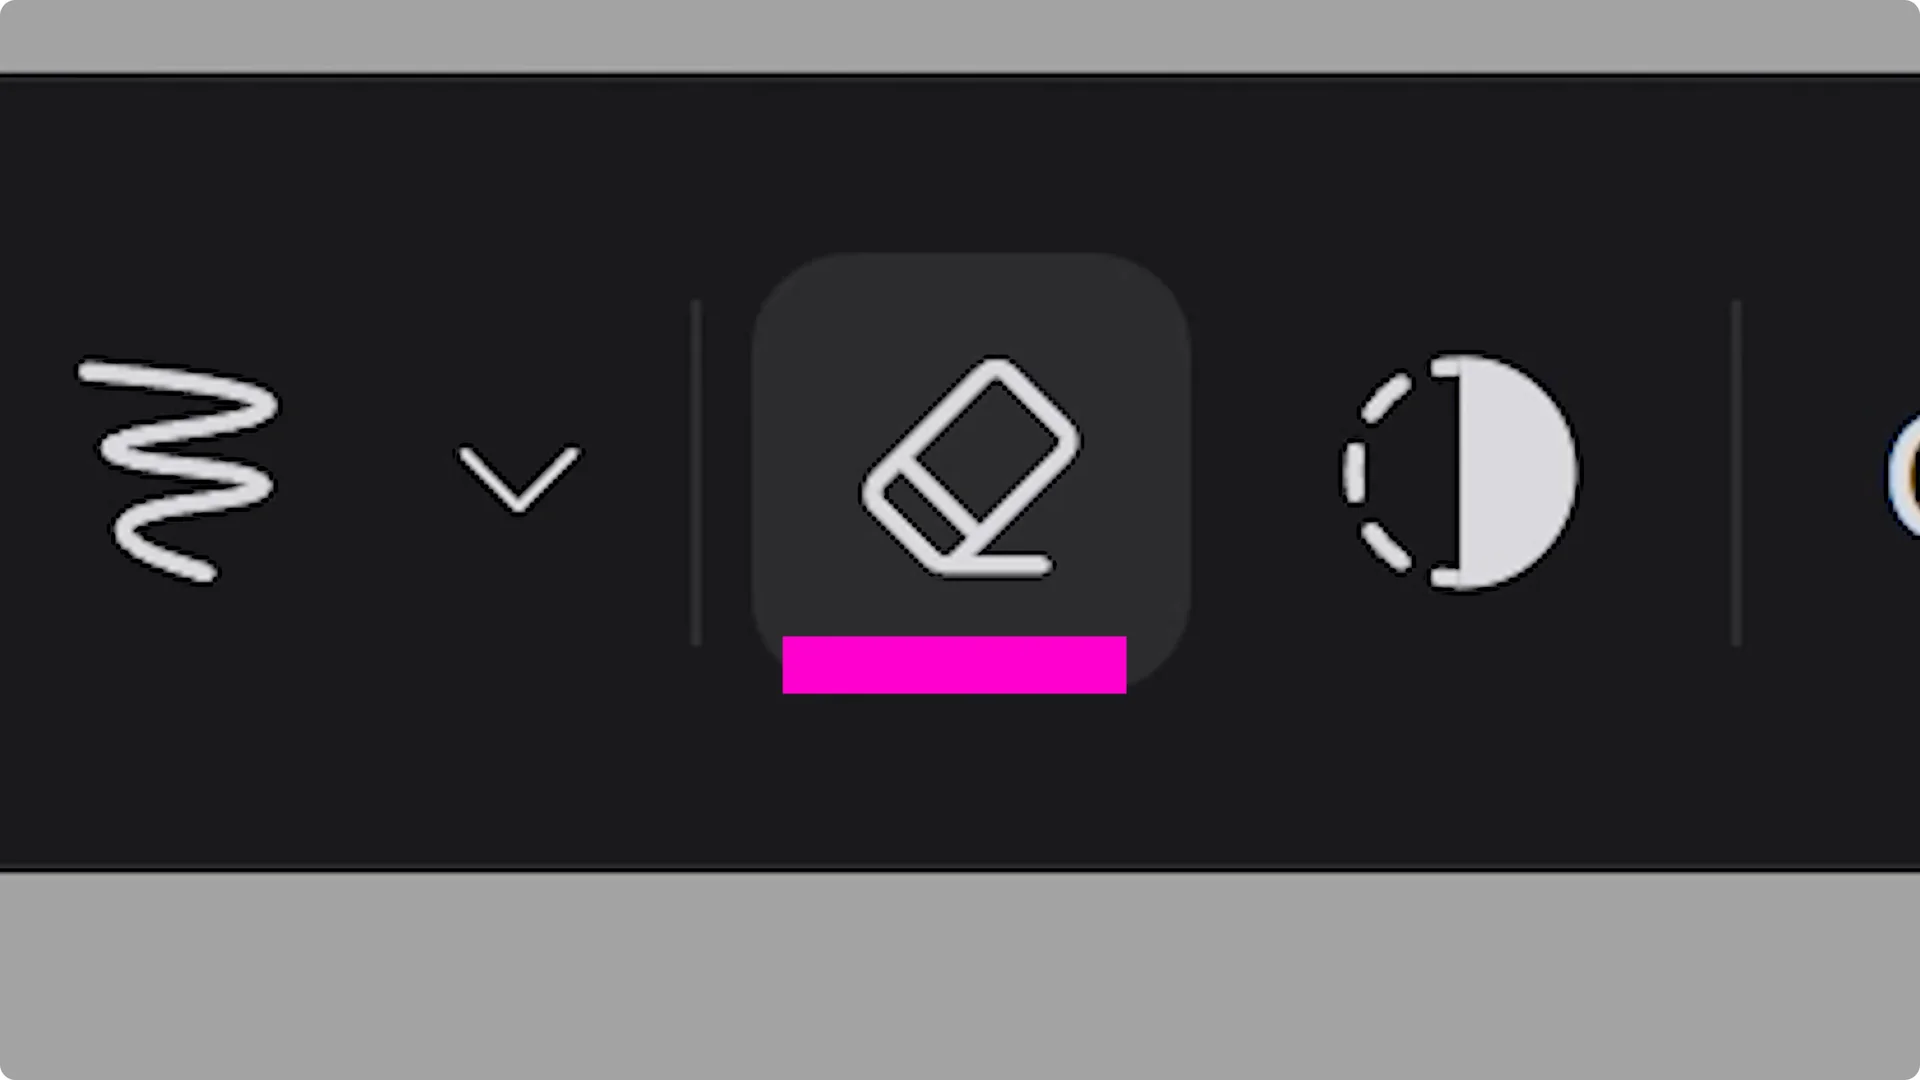
The Eraser icon toggles between two modes.
Activate the eraser to make the mask remove parts of your image, or switch to add parts back by clicking the Eraser again.
If you prefer to keep the background and change the subject instead, use the Invert tool to swap the selection.
Once everything looks good, click Save.
Canvas and Magic Fill
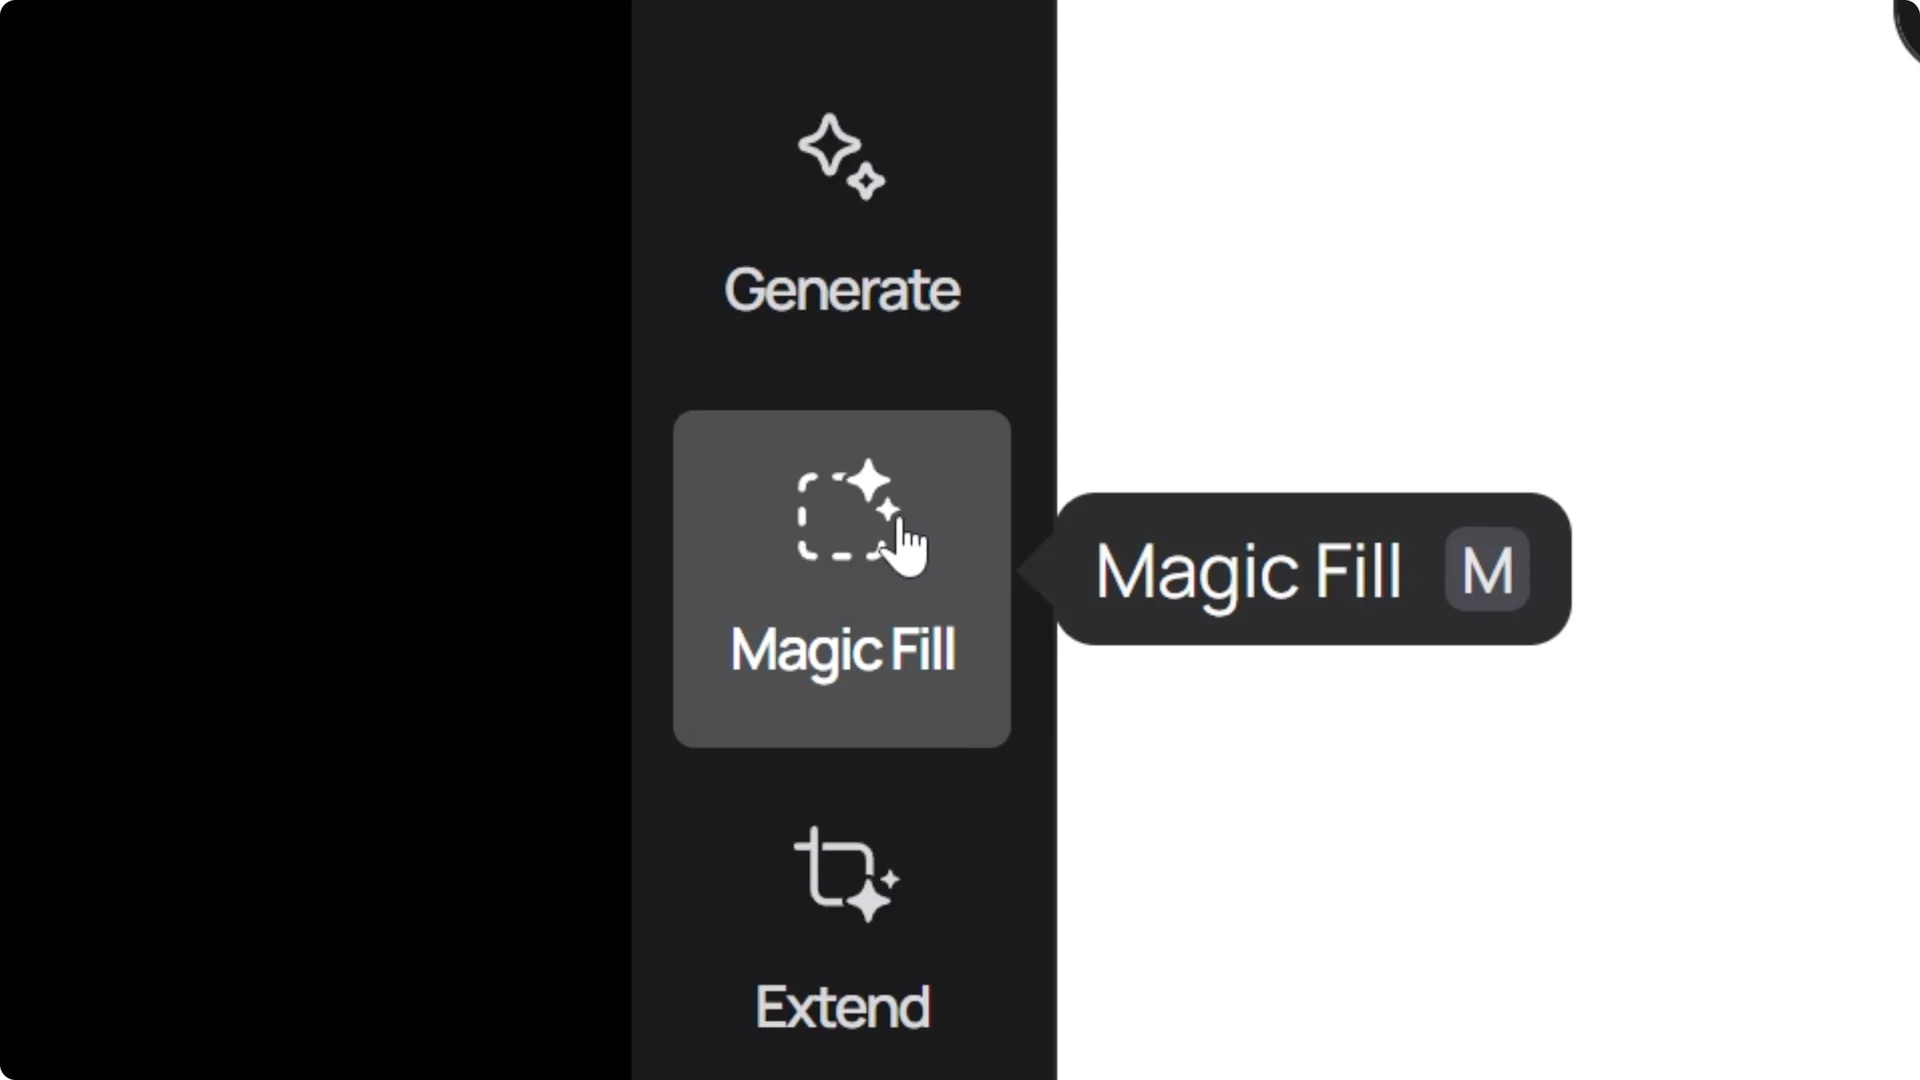
You are in the canvas view where you can use the Magic Fill tool.
Select Magic Fill and press Next.
The tool automatically creates a purple and pink box in the size of your original image, but you can extend or resize the box as needed.
It will generate new content within the box while leaving your subject untouched.
For related edits, see face swaps.
Grocery store example
Describe your background. Place our man in an ugly sweater at a grocery store.
Maybe he needed to grab some last minute utensils for the party.
Click Magic Fill to generate.
This places your subject in different settings while keeping him consistent.

Halloween cat costume example
Change the background for this person and update their outfit to fit the environment.
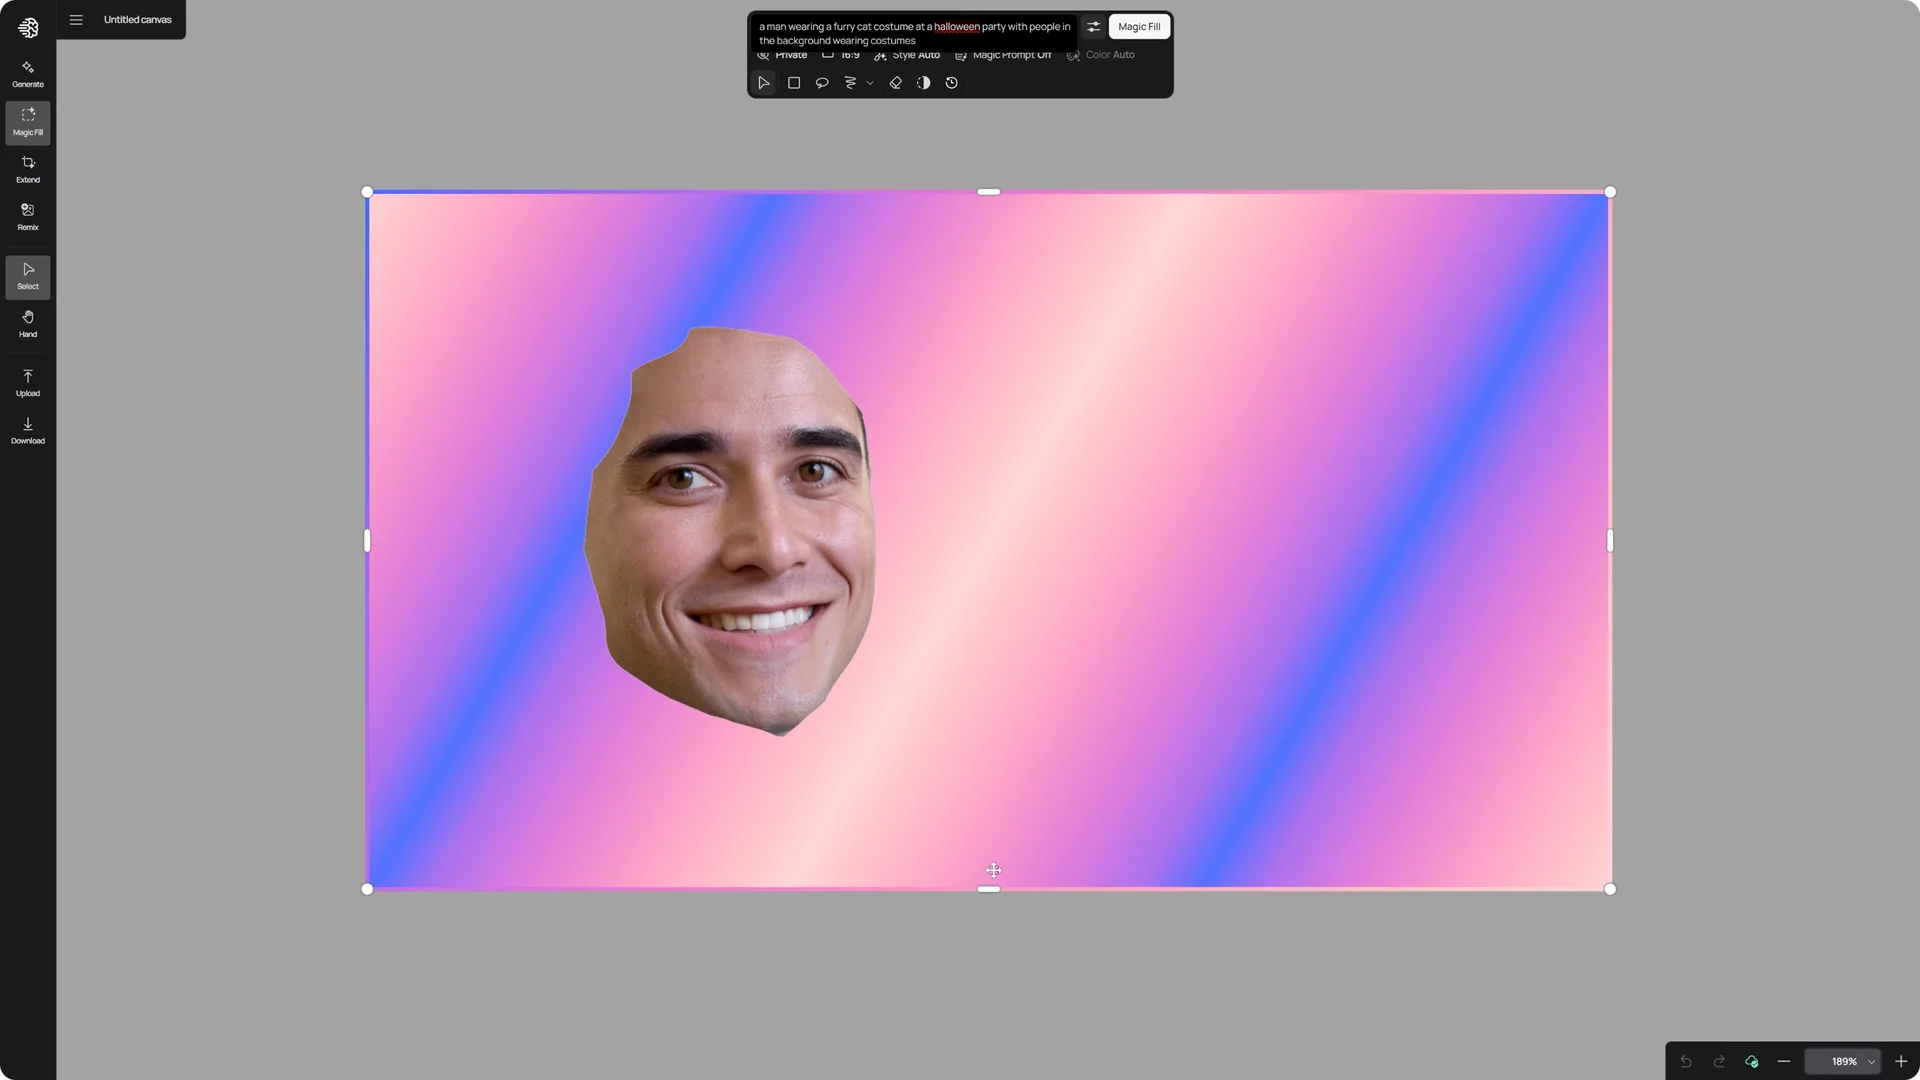
Go to Remove Background and click Edit Background, then erase everything except his face.

For the prompt, imagine he’s wearing a cat costume at a Halloween party. Go to Magic Fill, press Next, and type this prompt: a man wearing a furry cat costume at a Halloween party with people in the background wearing costumes.
Click Magic Fill to generate, and the lighting and styling match the new context perfectly while his facial expression stays intact. This is a tight shot, so make the frame bigger.
Go back to Magic Fill, click Next, and make the box larger to get a better view of the environment. This gives a wider sense of the scene.
Ideogram Background Removal for variations
This is a great way to transform a single image into multiple variations for different purposes, no matter the season. With Ideogram’s background removal and Magic Fill tool, you have the flexibility to create assets for every occasion. For character work, see kids characters.
Final Thoughts
Ideogram Background Removal makes it simple to isolate a subject, refine the mask, and generate new context with Magic Fill while keeping key details intact. Use manual tools to fine-tune selections, then expand or resize the generation box for wider scenes. From quick environment swaps to full outfit changes, you can turn one photo into many polished variations.